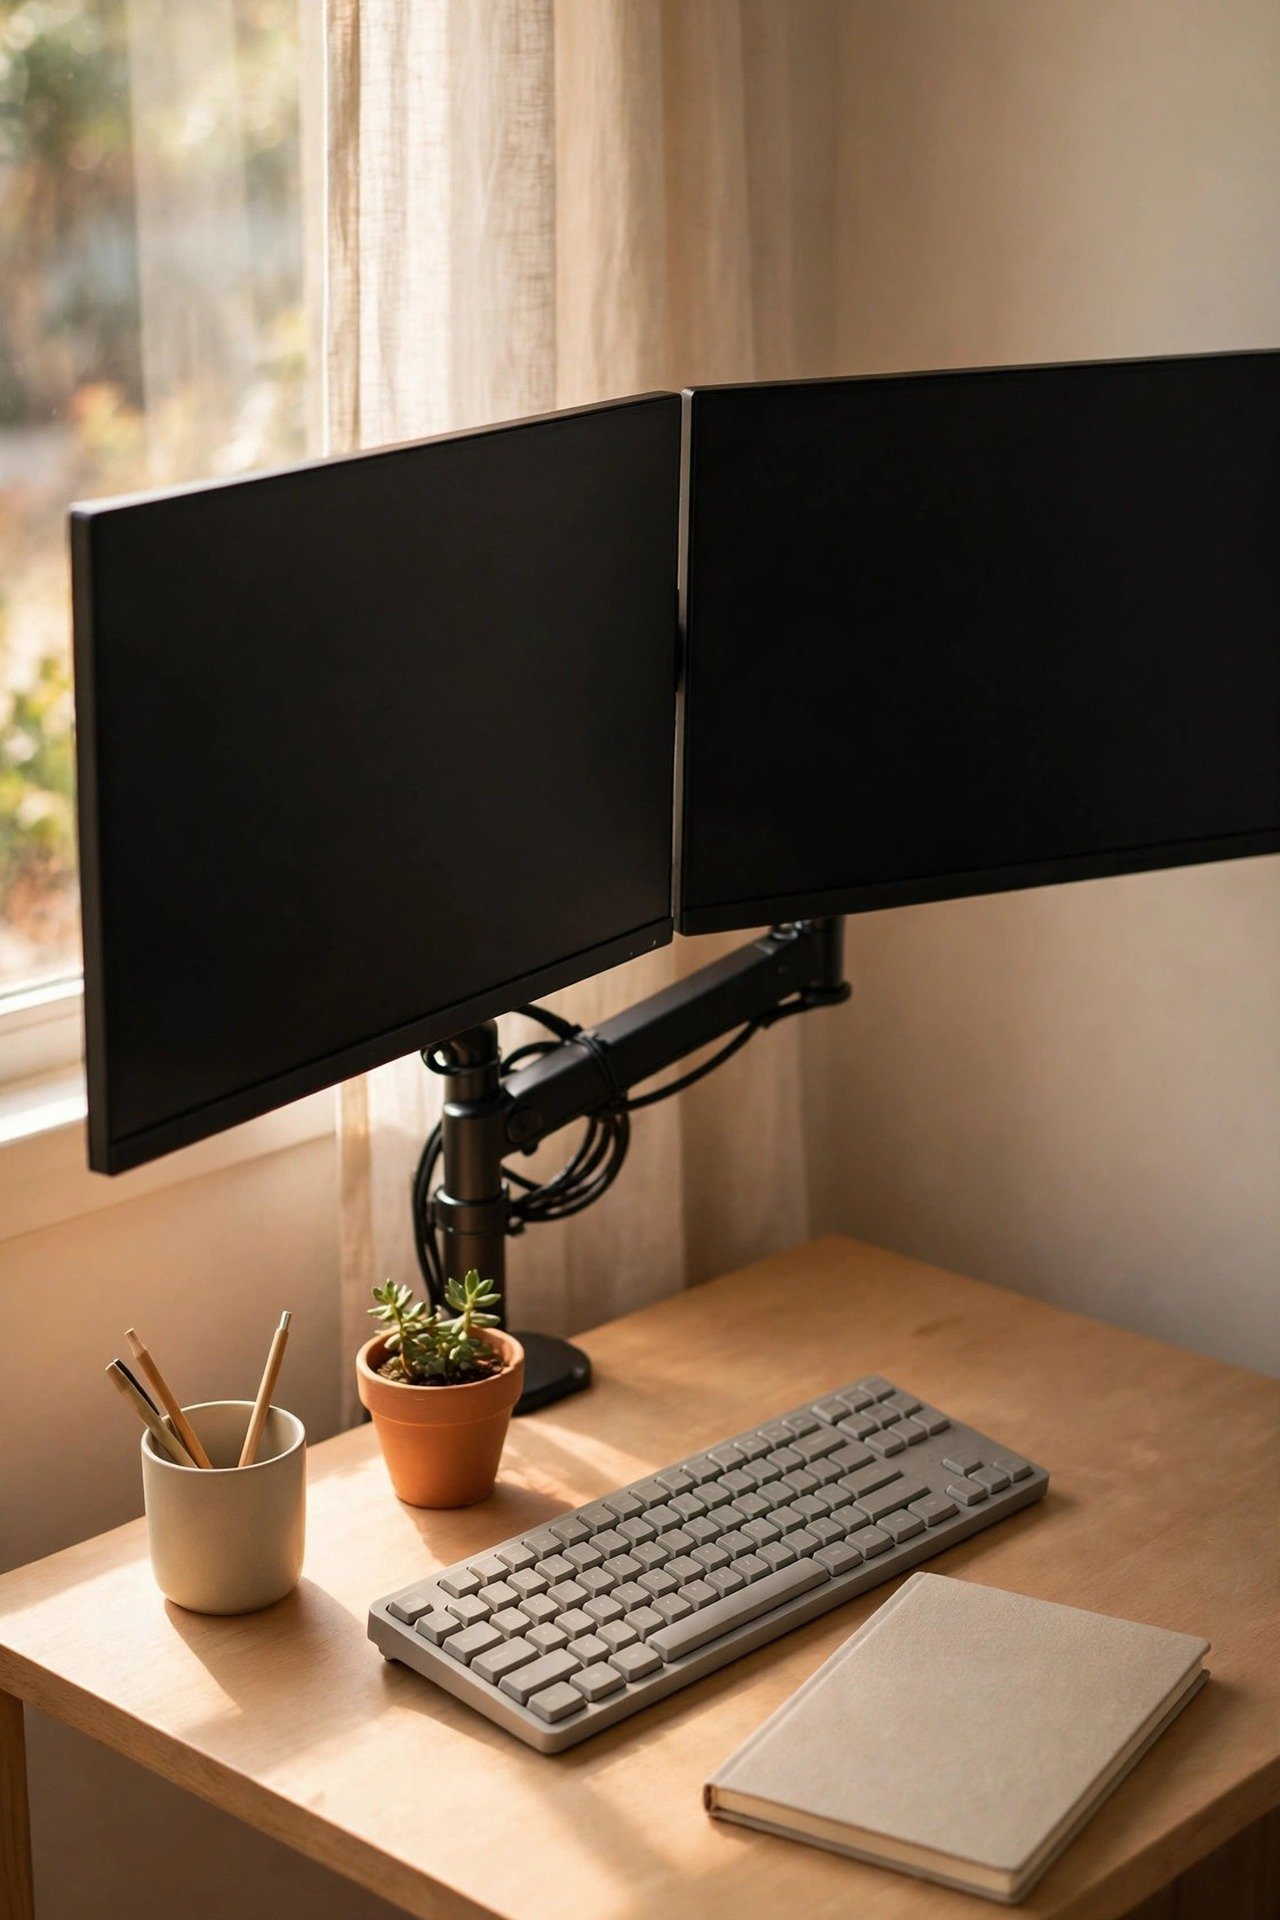
Adding a second monitor is one of the most satisfying upgrades in a home office — and one of the fastest ways to ruin a small desk. The new screen arrives, gets pushed wherever it fits, and suddenly there is no room for your notebook, your elbows are squeezed, and one screen sits so much lower than the other that you spend the day tilting between two heights. The good news is that you can set up a second monitor without crowding your desk. It just needs a layout decision first, not after.
This guide covers the three layouts that work on small desks, how to win back the surface the screens would otherwise eat, and how to arrange heights, distances, and cables so the pair feels like one calm workspace. Everything here is ordinary desk-setup guidance: positions, stands, and habits you can adjust in an afternoon.
Quick Answer
To add a second monitor without crowding your desk, decide which screen is your main one and centre that in front of you. Put the second screen at a slight angle beside it, or stack it above if the desk is truly narrow. Raise both screens on arms or risers so their stands stop eating the surface, match the tops of the screens at roughly the same height, and run both cables to one point behind the desk.
- One screen is the main screen; centre it, not the gap between the two.
- Monitor arms return the whole footprint of both stands to your desk.
- Keep the tops of both screens level so your eyes travel in a straight line.
- Your notebook and keyboard zone stays in the centre, whatever the screens do.
Step 1: Decide Which Screen Is the Main One
Most dual-screen problems start with equal treatment. Two screens placed side by side with the join in the middle feels fair, but it means neither screen is in front of you, and you sit twisted slightly all day. Instead, be honest about your work: the screen you look at most — documents, code, writing, spreadsheets — is the main screen, and it goes directly in front of your chair, exactly where a single monitor would go.
The second screen is for the supporting act: chat, email, reference pages, video calls, music. It sits beside the main screen, angled in toward you like the cover of a half-open book. You glance at it; you do not live in it. This simple hierarchy is what lets a two-screen setup stay comfortable on a desk that was only just big enough for one.
Step 2: Choose Your Layout
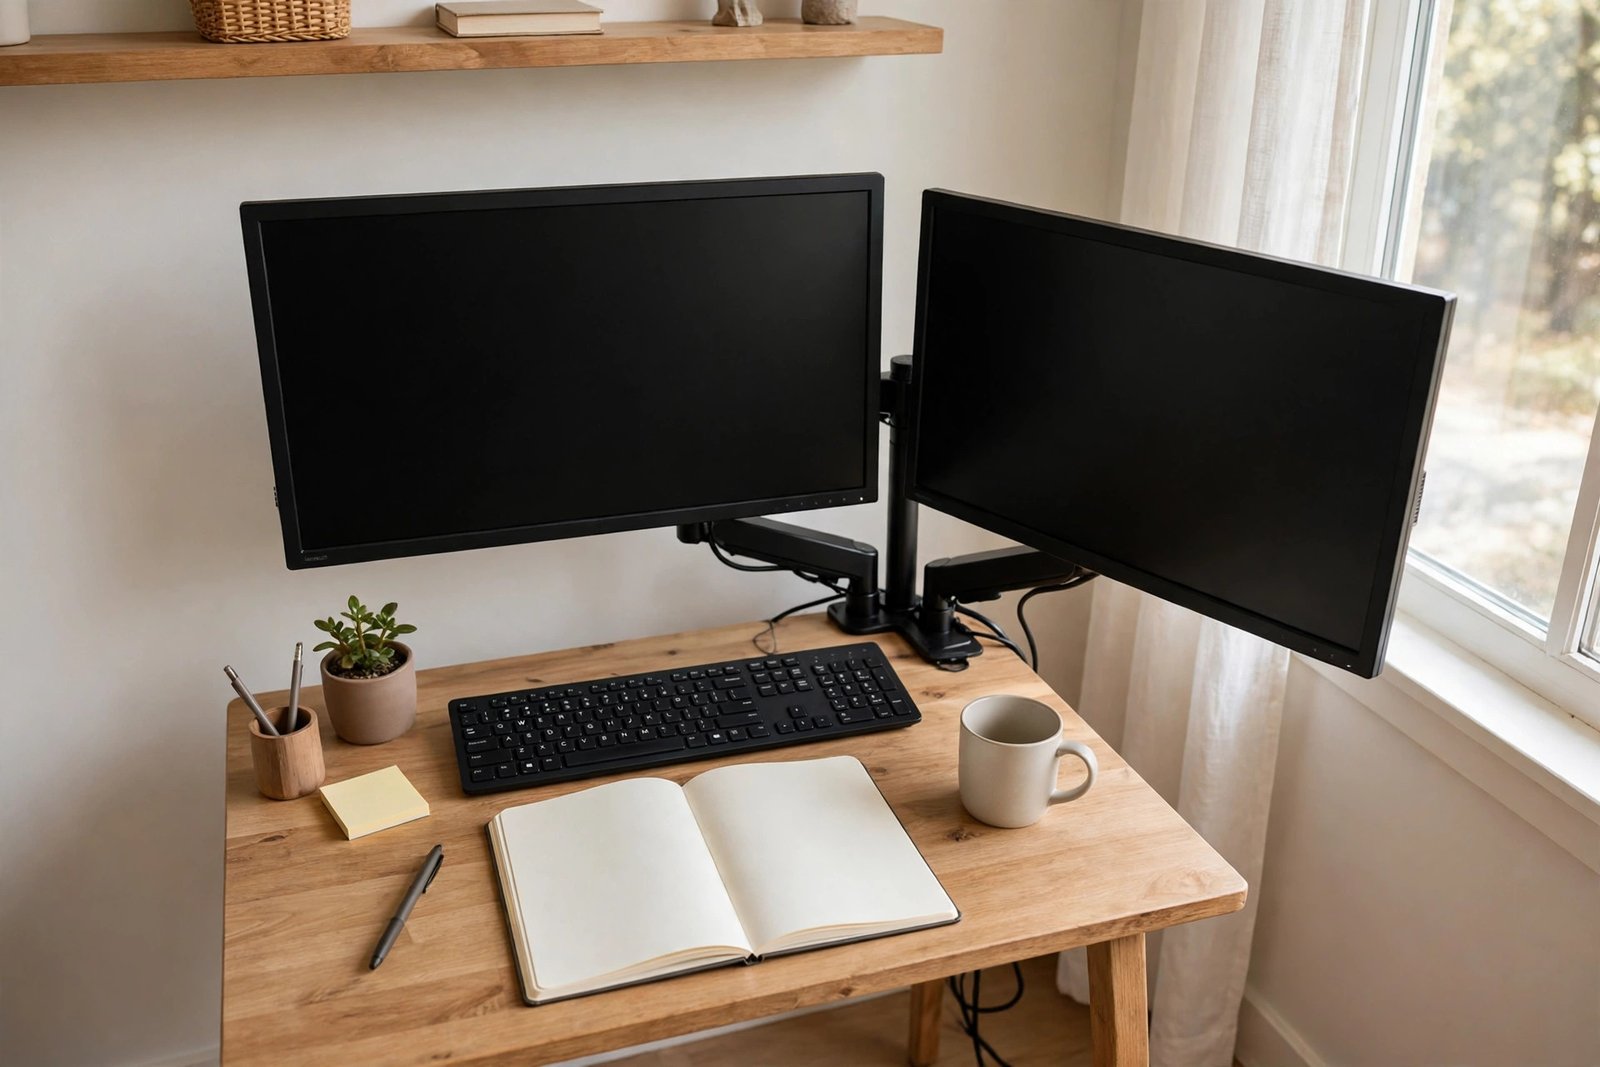
Main screen centred, second screen angled at the side
This is the best layout for most desks around 120 cm wide or more. The main screen sits centred; the second screen stands at the side at a gentle angle, its inner edge close to the main screen’s edge. Keep the gap between them small so your eyes are not crossing a canyon, and match the screen heights so the picture flows across.
Two screens side by side, centred as a pair
If your work genuinely splits evenly between two screens — comparing documents, for example — you can centre the pair as one unit, with the join in front of you and both screens angled slightly inward. It works, but it needs a wider desk and a chair you can swivel gently in. On a small desk it usually steals too much surface, so treat it as the exception, not the default.
Stacked screens, one above the other
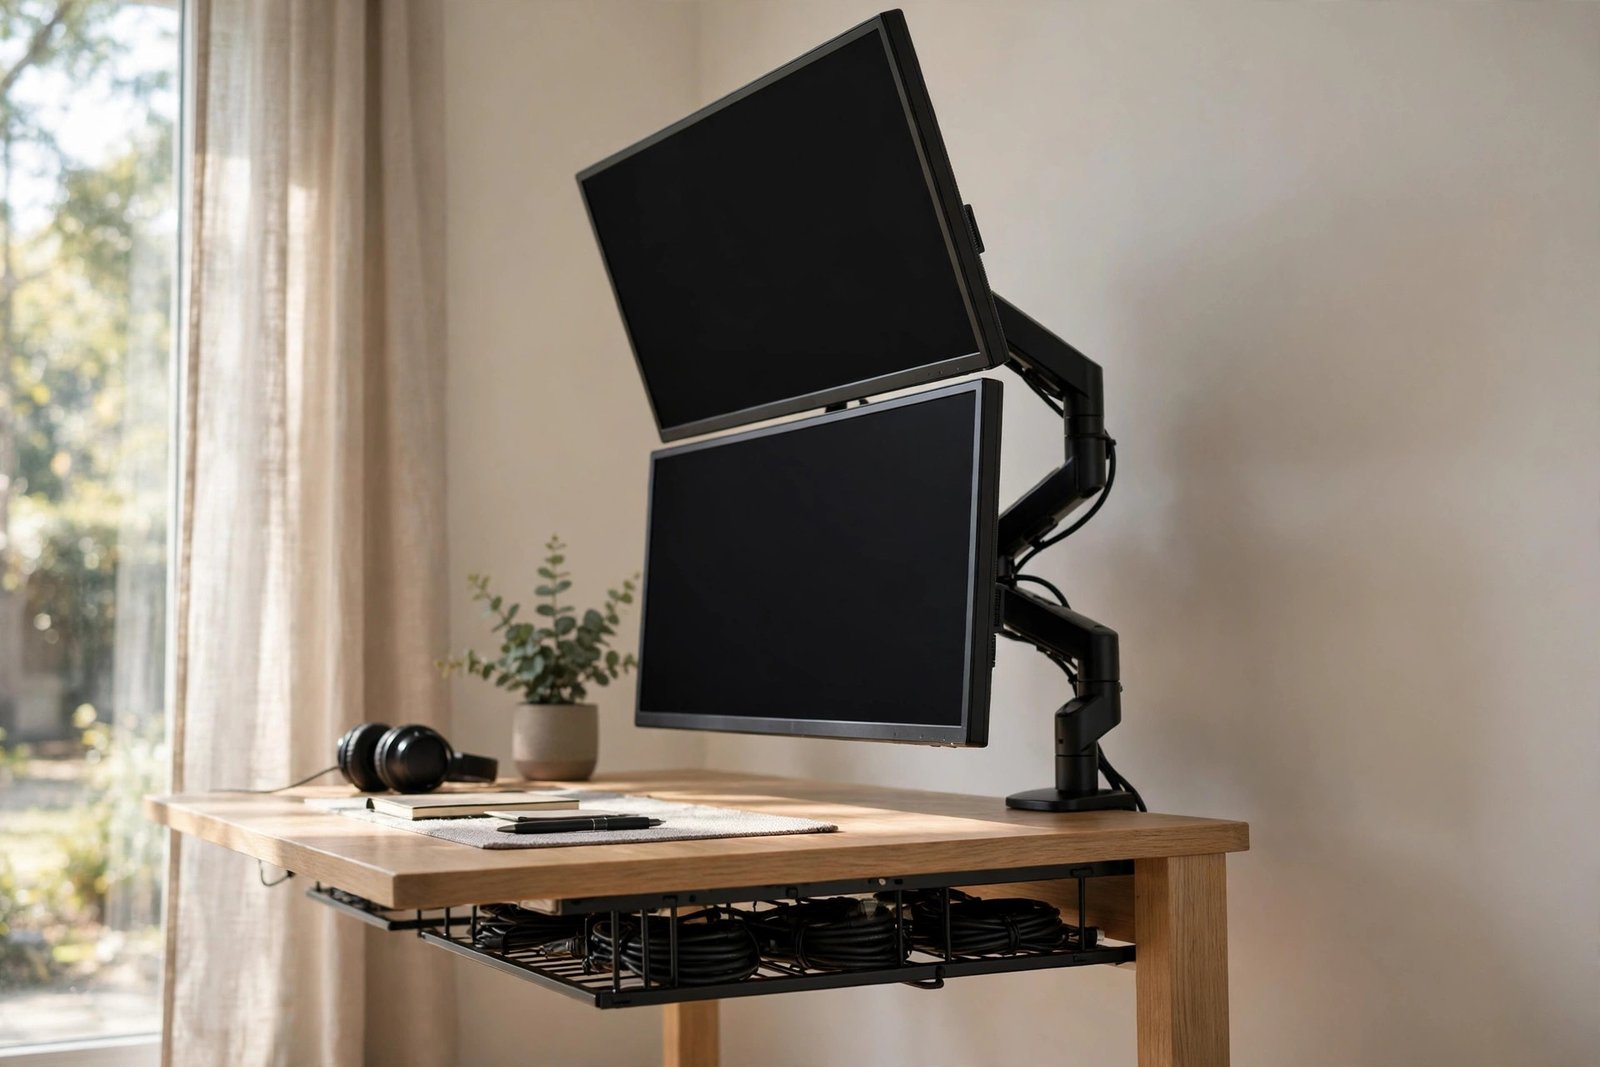
On a narrow desk, going up beats going wide. A taller stand or a stacked arm puts the second screen above the main one, tilted slightly down toward you. This suits a second screen you check in bursts — dashboards, messages, call windows — while the main work stays at eye level below. It uses almost no extra desk width at all.
Step 3: Win Back the Surface With Arms and Risers
Two monitor stands can occupy a shocking share of a small desk, and neither of them does anything useful. A dual monitor arm, or two single arms, clamps to the back edge of the desk and floats both screens above the surface, returning the whole centre of the desk to your keyboard, notebook, and arms. If arms are not an option, simple risers lift each screen and let you slide the keyboard, a notebook, or a small drawer unit underneath.
The same principle helped if you came from a laptop-only desk: our guide to fixing a laptop-only setup that is hurting your posture starts with raising the screen and separating the keyboard, and a second monitor is simply the next step of the same logic. Whether the screen is a laptop or a monitor, height and a clear surface are what make it work.
Step 4: Match Heights, Distances, and Angles
With two screens, small mismatches become all-day annoyances. Set both screens so their tops are at roughly the same height, close to eye level, and so both sit at a similar distance — about an arm’s length. If one screen is much lower or further away, you will feel yourself dipping and leaning toward it without noticing. Our full guide to fixing a monitor at the wrong height covers the measuring routine in detail; run through it for each screen, not just the main one.
Angle the side screen inward enough that you face it squarely when you turn your head slightly. If you have to peer at it at a sharp sideways angle, text will look distorted and you will start dragging windows back to the main screen — a sure sign the angle, not the screen, is wrong.
Step 5: Where the Laptop and Cables Go
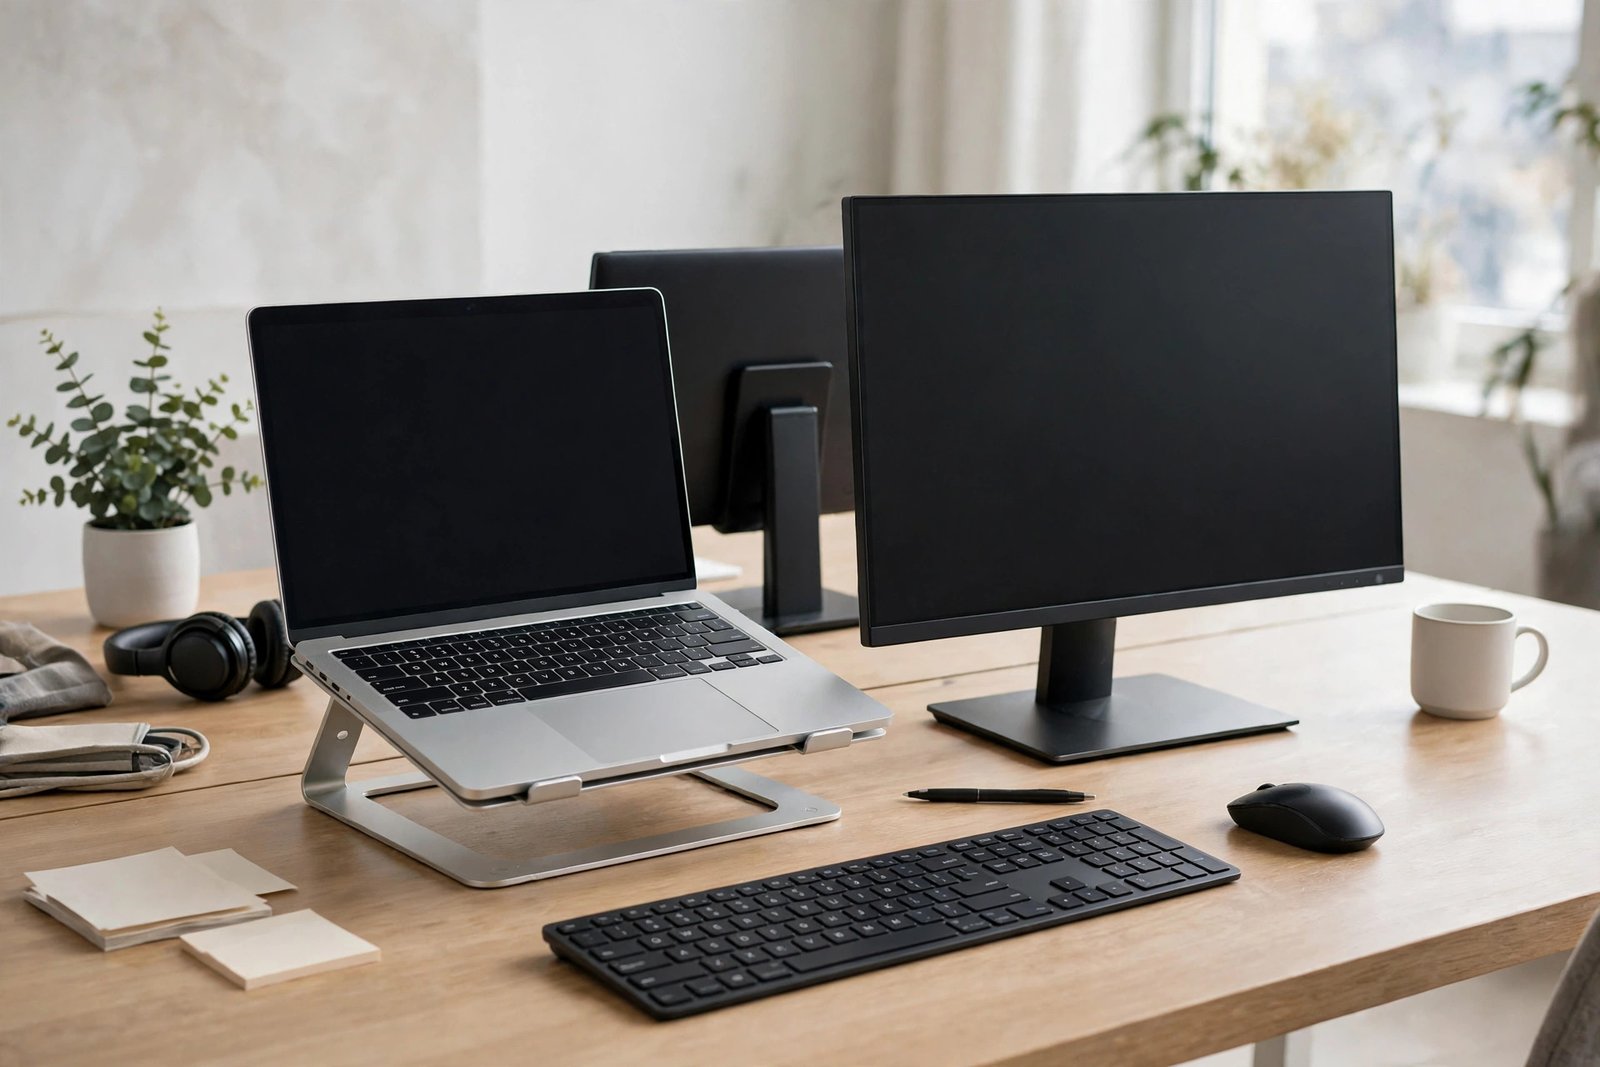
If your second screen is a laptop, raise it on a stand beside the monitor so the two screens sit at a similar height, and use a separate keyboard and mouse in front of you. A laptop left flat on the desk beside a raised monitor creates the worst height mismatch of all. If the laptop stays closed while driving two external screens, park it in a vertical stand at the back of the desk where it takes almost no surface. A small desk setup that still fits a monitor, laptop and notebook shows this parking pattern in a single-screen desk, and it adapts directly.
Cables double with a second screen, so plan them once: both display cables and both power leads run to one power strip in a tray or box under or behind the desk. Leave a little slack behind each screen so you can angle them freely without tugging a cable out. Ten minutes of cable discipline now saves you from the slow tangle that otherwise swallows the desk you just cleared.
Mistakes to Avoid
- Centring the gap between the screens. You sit twisted between two screens instead of facing one properly.
- Leaving both screens on their factory stands. The stands eat the centre of the desk where your arms and notebook belong.
- Mixing heights carelessly. One screen much lower than the other means a day of dipping and leaning.
- Pushing the second screen flat against the wall at an angle. If you cannot face it squarely, you will stop using it.
- Letting the keyboard drift to one side. The keyboard stays centred on the main screen, always.
- Skipping the cable plan. Four unplanned cables will colonise a small desk within a week.
Frequently Asked Questions
How wide does a desk need to be for two monitors?
A desk around 120 cm wide handles two screens comfortably with the main screen centred and the second angled beside it. Narrower desks can work with a stacked layout, where the second screen sits above the main one instead of beside it.
Should both monitors be exactly the same height?
The tops of the screens should sit at roughly the same height so your eyes move across in a level line. A small difference is fine; a large one, such as a raised monitor beside a flat laptop, will bother you all day.
Is a monitor arm really worth it on a small desk?
Yes — it is the single change that frees the most surface. Two stands can cover a third of a small desk, while an arm uses a few centimetres at the back edge and lets you adjust height and angle precisely.
Which screen should go in front of me?
The one you look at most. Put your main work screen directly in front of your chair and treat the second screen as a side reference for messages, calls, and supporting information.
Conclusion
A second monitor crowds a desk only when it is added without a plan. Centre the main screen, angle or stack the second one, float both on arms or risers, match their heights and distances, and run the cables once to one place. Follow that order, and two screens will feel like one generous workspace — even on a desk that started small.