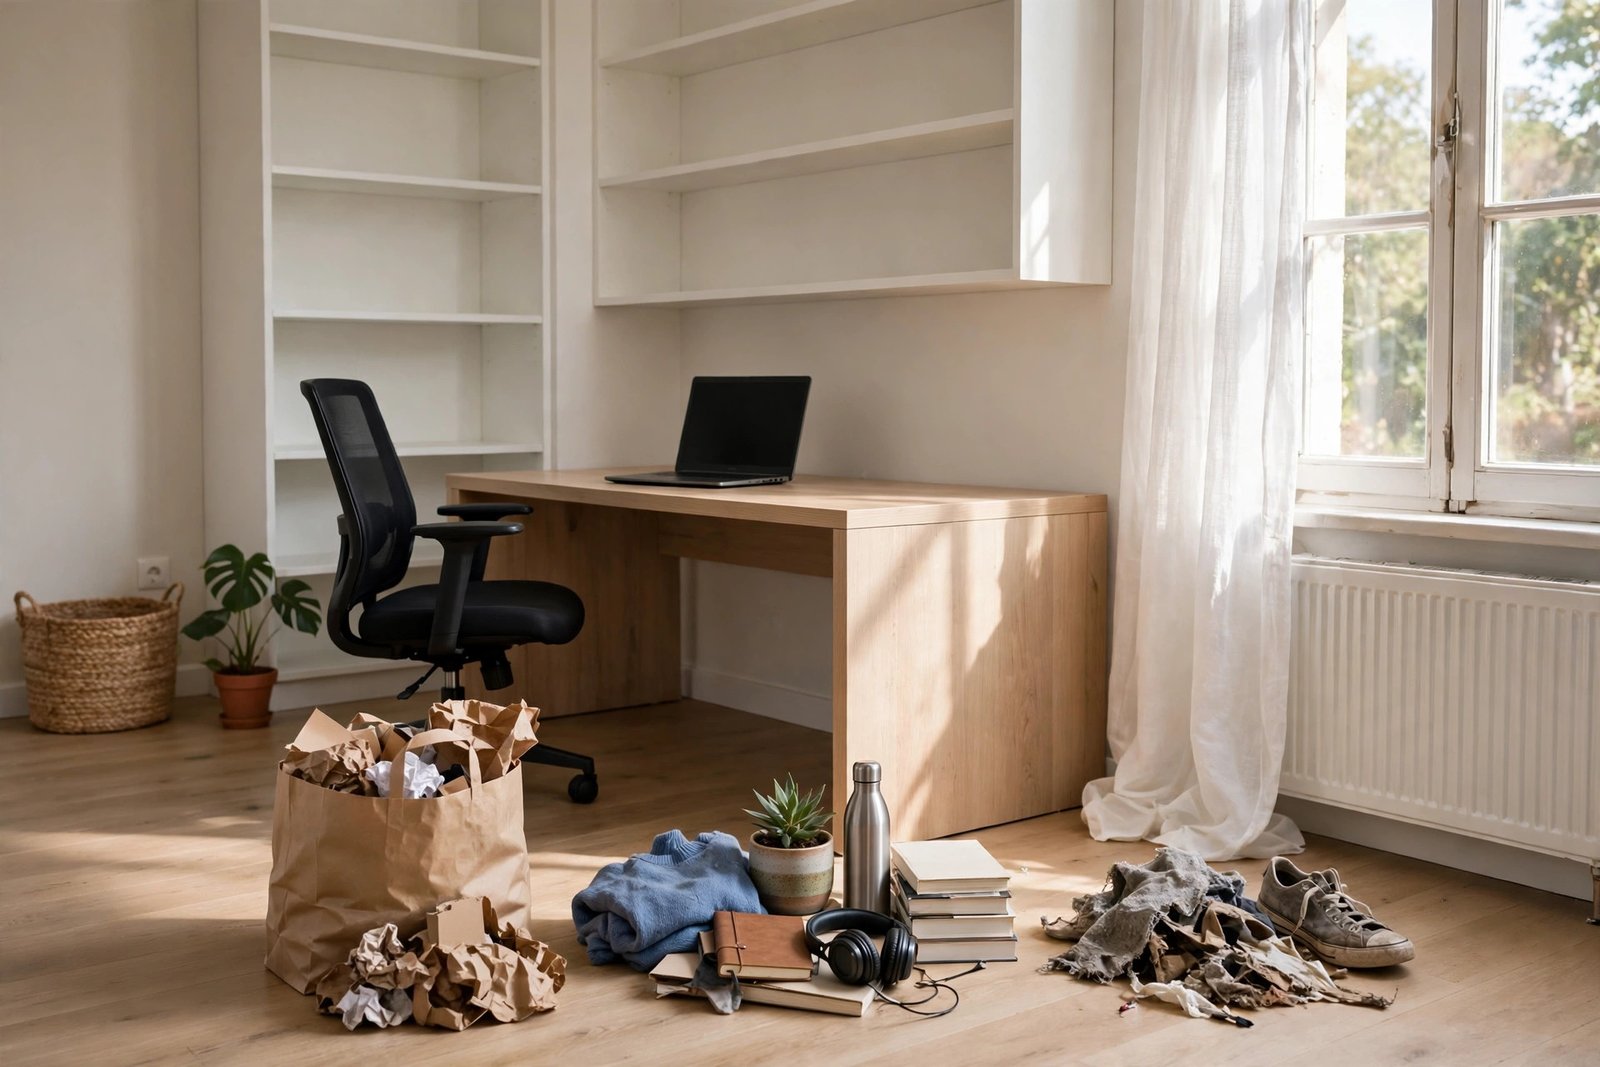
A home office rarely gets messy in one big moment. It gets messy in a hundred small ones: the spare cable that stayed, the box you meant to move, the mug collection, the chair cushion that gave up months ago. After a year of working in the room, it works — but it no longer feels good to work in. That is exactly what a home office yearly clean is for.
This is not a weekly tidy. It is a once-a-year reset of the whole room: sort everything into remove, keep, and replace, clean the places weekly cleaning never reaches, and put the room back together deliberately. Done in an afternoon, it makes the office feel newly set up again.
Quick Answer
A home office yearly clean has four parts. First, empty the desk, shelves, and drawers and sort everything into three piles: remove, keep, and replace. Second, give everything in the keep pile one fixed home. Third, replace only what is worn out or no longer works — cushions, cables, bulbs, tired storage. Fourth, clean the room itself — dust behind and under furniture, cables wiped and re-run neatly, floor and desk fully cleared — then reset the layout before you sit down to work again.
Step One: Empty and Sort — Remove, Keep, Replace
Start by taking everything off the desk, out of the drawers, and off the shelves. Yes, all of it. A yearly clean works because nothing keeps its place by habit; every item has to earn its way back. Sort as you go into three clear piles on the floor or a bed.
The remove pile is for things that leave the room: dead pens, cables for devices you no longer own, manuals, old paperwork, packaging, duplicates, and anything you have not touched in a year. The keep pile is for what you genuinely use — daily items and the weekly ones. The replace pile is small and specific: things that still have a job but are worn out, broken, or frustrating — the frayed cable, the flat cushion, the drawer box that never fit. Be honest with the remove pile; it is where the yearly clean earns most of its effect. Storage systems only work when the volume is right, as our guide to a storage system that stays tidy explains.
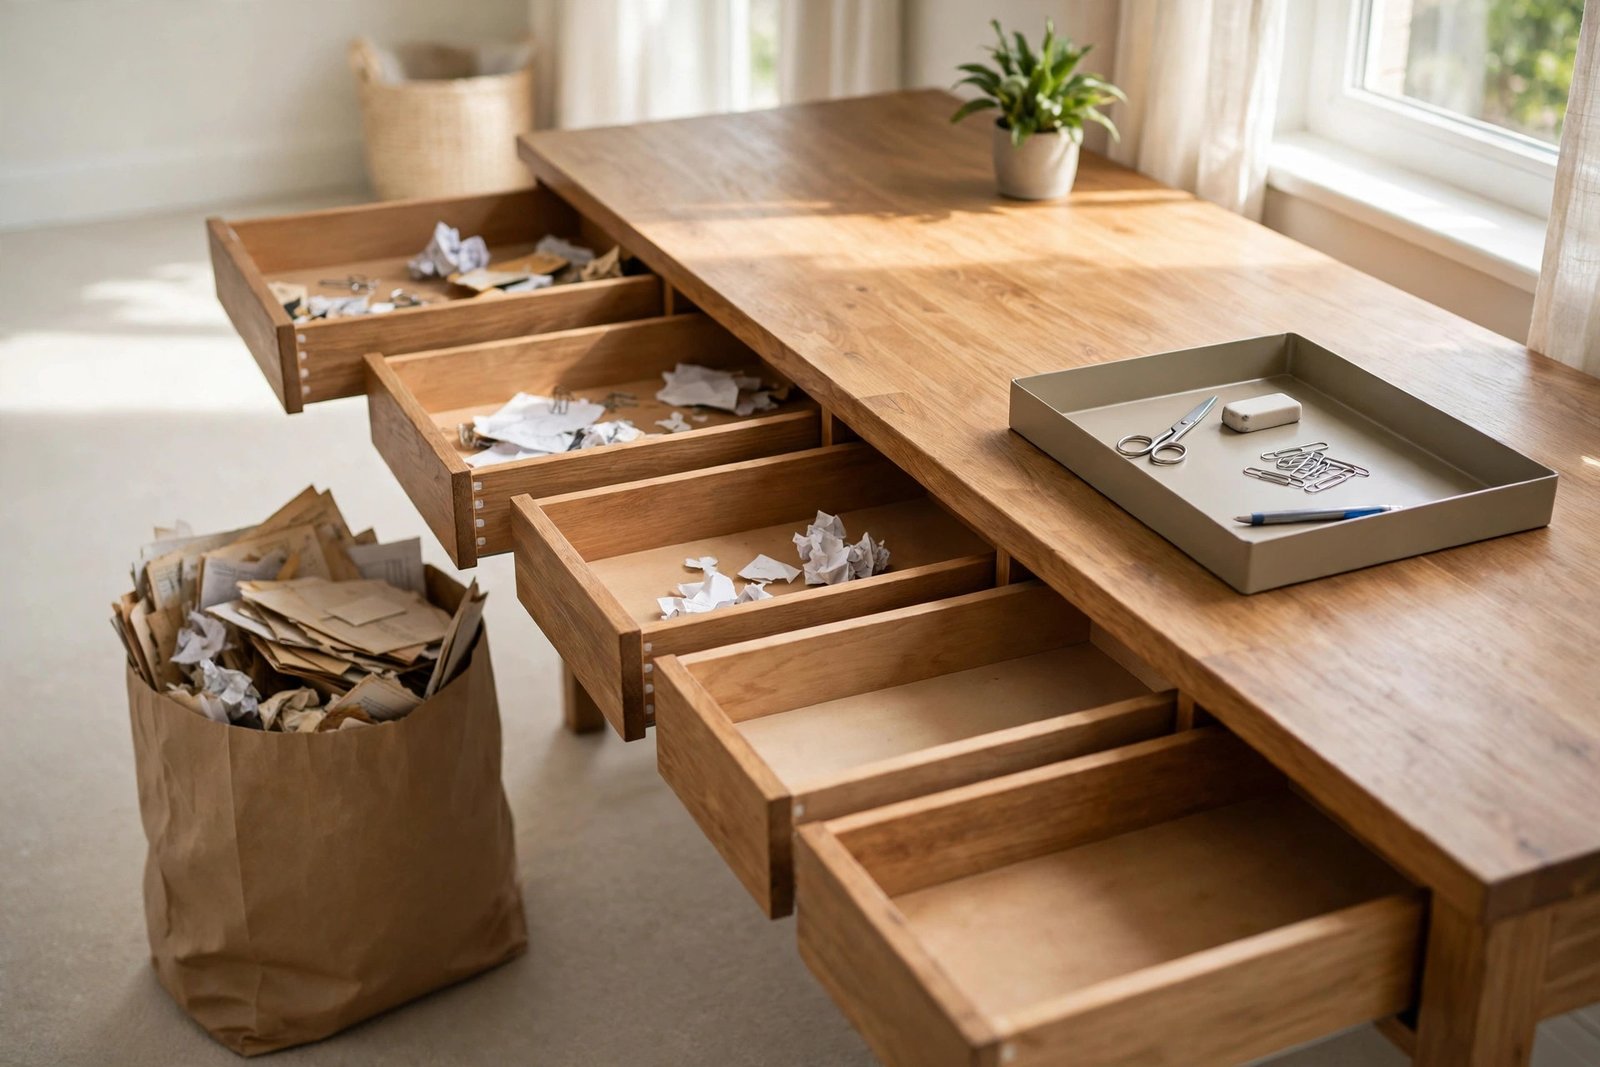
Paper deserves its own pass. A year of printouts, notes, forms and post hides in almost every office, usually in the same two drawers. Sort it standing at a bag: keep only what you must file, set aside anything you genuinely need to scan or act on, and recycle the rest the same day. Paper kept “just in case” is the pile that regrows fastest, so the just-in-case standard should be high.
Step Two: The Keep Pile Gets a Home
Before anything goes back, decide where each category lives: paper in one place, cables and chargers in one place, tools and supplies in one place. The rule for the year ahead is that a category has one home, and items out of place are easy to spot because of it.
Put back only the keep pile, in that order — daily items closest, weekly items behind or above. If a category has outgrown its home, that is a signal to shrink the category or enlarge the home now, while everything is out, not a problem to rediscover in three months. Our guide on where a printer, files and chargers should live is a useful map for the three bulkiest categories most offices get wrong.
Step Three: Replace Only What Has Earned It
The replace pile is your shopping list, and it should stay short. Replace things that affect daily comfort or reliability: a chair cushion that has gone flat, a cable that only works at one angle, a lamp bulb that has dimmed, a wobbling shelf bracket. Replace like with like, or slightly better where the old item’s weakness caused the problem.
Do not let the yearly clean become an excuse for a full refit. If something works, it stays, even if it is not beautiful. The clean’s gift is a room that functions and feels fresh; upgrades belong to a separate plan with their own order and budget.
Check the office plants while you work: repot the one bursting out of its pot, prune the trailing one back inside its boundary, and move any plant that has struggled in the same spot all year rather than fighting that light for another year.
Step Four: Clean the Room Itself
With the room emptied, clean the parts weekly tidying skips. Dust the tops of shelves, the back of the monitor, and the shelf above the desk. Wipe down the desk surface fully — you will not see all of it again for a year. Pull the desk out if you can and clear what has gathered behind and under it: this is where lost pens, dust, and mystery cables live.
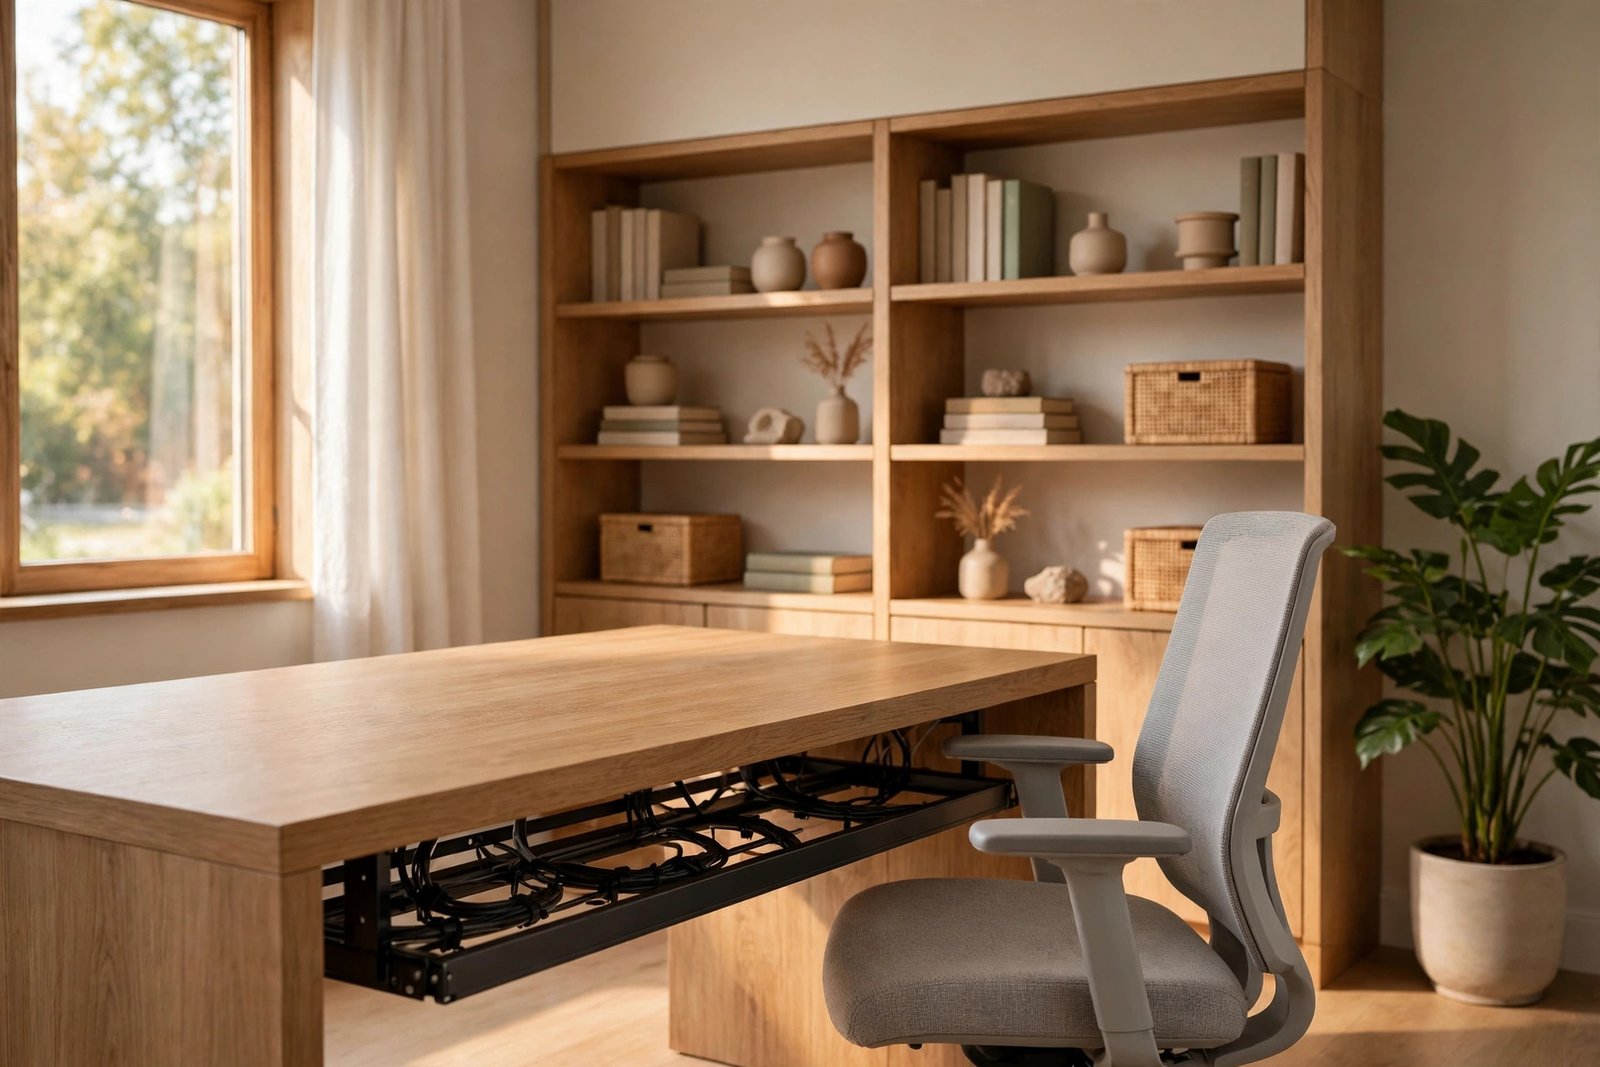
Then deal with the cables properly for once: unplug, wipe, and re-run them along one path, in a tray or clipped along the desk’s back edge, with each plug labelled. Vacuum or mop the floor last, including the chair’s rolling patch, which usually holds a year’s worth of grit.
Step Five: Reset the Layout Before You Sit Down
Finally, put the room back together as a decision, not a habit. Is the desk still in the best spot for light? Has the chair drifted too close to the screen over the year? Has one shelf become the dumping ground while another sits half empty? Small layout corrections are free at this moment and expensive later, when everything is loaded again.
Between yearly cleans, the room stays near this standard with a short routine — our 15-minute weekly office reset is designed for exactly that. Think of the yearly clean as the deep reset, and the weekly reset as the maintenance that delays the next one.
Leave a Note for Next Year
Before you finish, write a short note — on paper in the drawer or in your phone — listing what you removed, what you replaced, and anything you decided to watch, such as a chair that may need replacing next year or a shelf that is slowly overloading. Next year’s clean starts faster with that list, and it stops you re-buying things you already own.
Mistakes to Avoid
- Sorting without emptying. Tidying around things keeps the clutter and the habits. Emptying first is what makes the sort honest.
- A remove pile that quietly returns. Bag it and take it out of the room the same day, or it will migrate back onto the shelves within a week.
- Buying replacements before sorting. You will replace things you should have removed, and miss the worn-out item hidden under the clutter.
- Skipping behind and under the desk. That is precisely the zone a yearly clean exists for. Weekly tidying never reaches it.
- Putting everything back in the same places. If a category never stayed tidy, its home was wrong. Use the reset to move it.
- Trying to do it in working hours. A half-cleaned office midweek is worse than a messy one. Give it one clear block of time.
Frequently Asked Questions
How long does a home office yearly clean take?
For a typical one-desk home office, one afternoon — roughly two to four hours. The emptying and sorting takes the longest; cleaning and putting back go quickly once the piles are decided. Small offices take less; offices with years of stored paperwork take more.
When is the best time of year to do it?
Any quiet point you will actually keep: the start of the year, a slow week, or the change of seasons. Pick the same rough date each year so it becomes an appointment rather than a reaction to the mess.
What should I do with cables for devices I no longer own?
Remove them. Keep one clearly labelled spare of the common charging types if your household genuinely uses them, and let the rest go. A drawer of orphan cables is the single most common clutter in home offices.
How is a yearly clean different from weekly tidying?
Weekly tidying maintains the current system: surfaces cleared, items back in their homes. The yearly clean questions the system itself — what you own, where it lives, what is worn out, and whether the layout still works — and cleans the hidden places weekly cleaning never touches.
Conclusion
A home office yearly clean is one afternoon with a simple structure: empty everything, sort into remove, keep, and replace, give the keep pile fixed homes, replace only what has worn out, clean the room’s hidden places, and reset the layout before you sit down. Do it once a year, keep a short weekly reset in between, and the room keeps the fresh, deliberate feeling of the day you set it up.
