In the era of remote work, your digital presence is your new first impression. Lighting is the single most important factor in determining whether you look like a seasoned professional or a grainy silhouette. A ring light is the ultimate tool for achieving that “studio look” from the comfort of your home office. By distributing light evenly and reducing harsh shadows, it ensures you remain the focus of every Zoom call. Here are 25 expert tips to master your ring light setup and elevate your video meeting game.
1. Eye Level
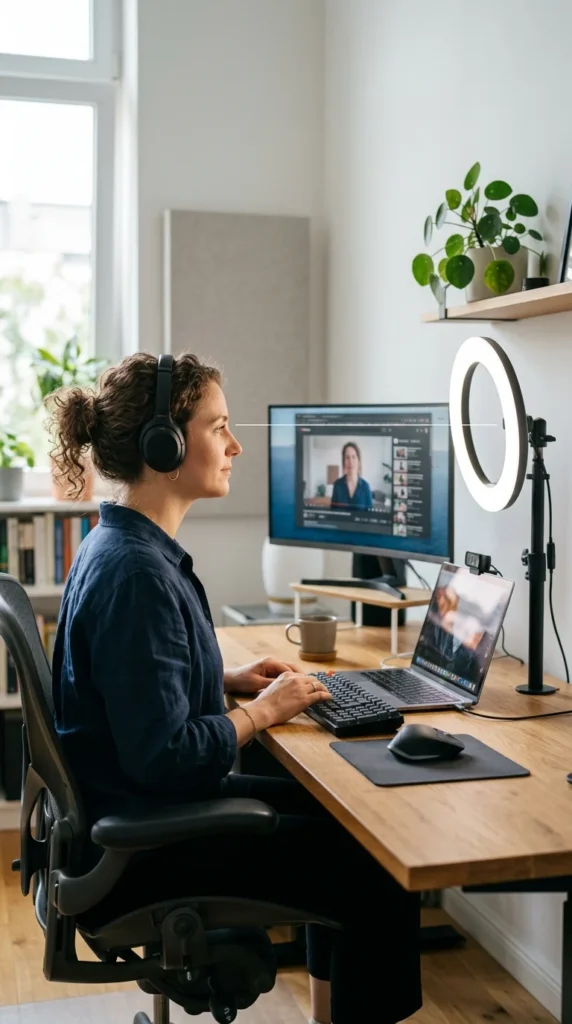
Positioning your ring light at eye level is the golden rule of video conferencing. If the light is too high, it creates “raccoon eyes” by casting shadows under your brow. If it is too low, it creates an unnatural “campfire” glow from beneath. Setting it at eye level ensures that the light fills in the hollows of your face evenly, providing a flattering, youthful appearance that looks natural to the viewer.
2. Diffuser Cover
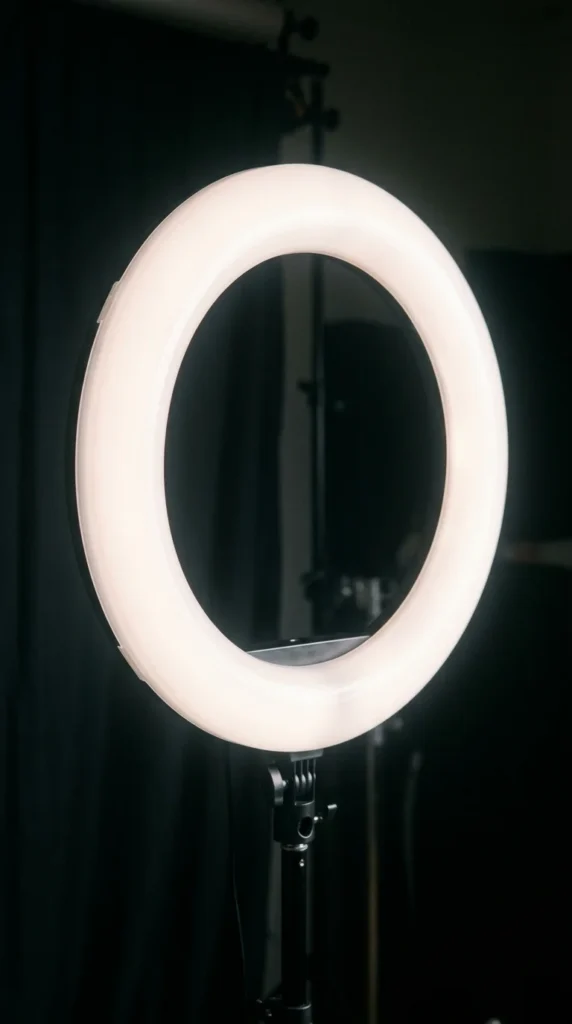
Most high-quality ring lights come with a built-in or detachable diffuser. This is usually a milky white plastic cover that sits over the LEDs. Never skip this. The diffuser softens the light, preventing “hot spots” on your forehead or nose and making the overall glow much more flattering for your skin texture. It helps blur imperfections and creates a professional, soft-focus aesthetic.
3. Color Temperature
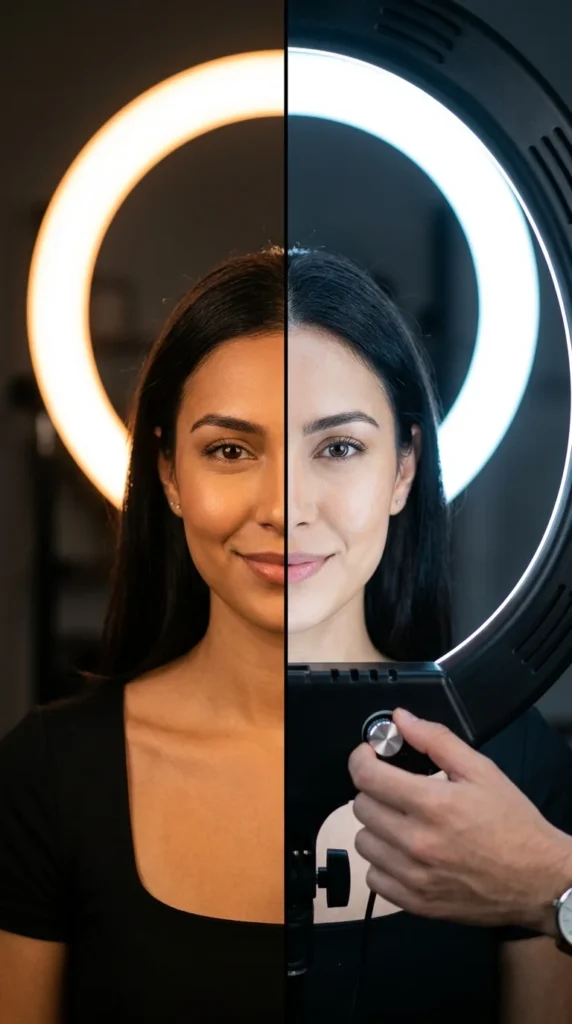
Mastering color temperature (measured in Kelvin) is crucial for looking healthy on camera. Most ring lights allow you to switch between warm orange and cool blue tones. For a natural look, match your ring light to the existing light in your room. If you have warm yellow lamps, set the ring light to a lower Kelvin (around 3200K). If you are near a window with daylight, set it higher (around 5600K).
4. Brightness Levels
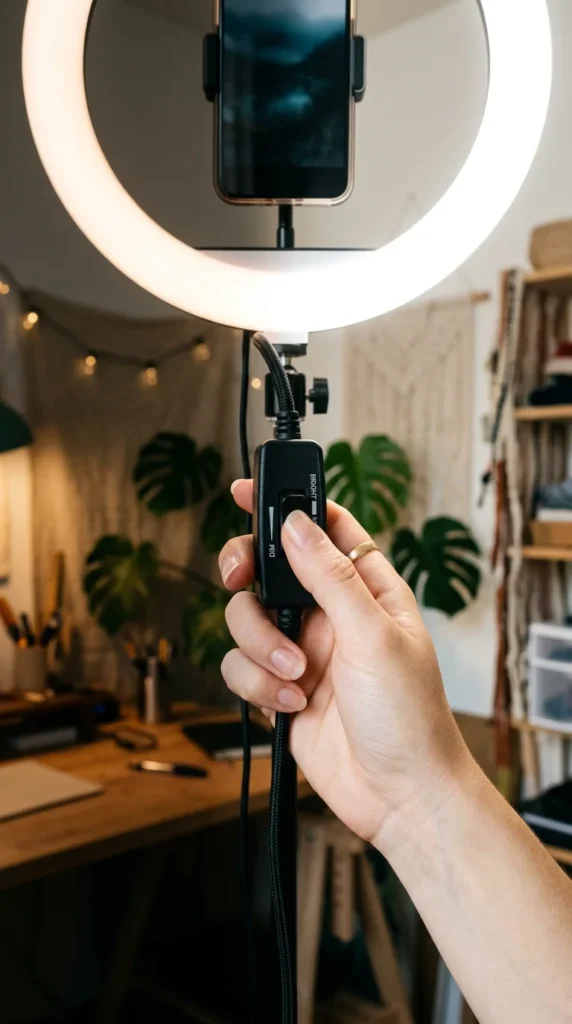
More light isn’t always better light. Using a ring light at 100% brightness can often wash out your features and cause eye strain. Start at 10% and slowly increase the brightness until your face is clearly visible without your skin looking “blown out” or white. A well-balanced brightness level maintains the natural contours of your face while providing enough clarity for the camera sensor.
5. Halo Effect
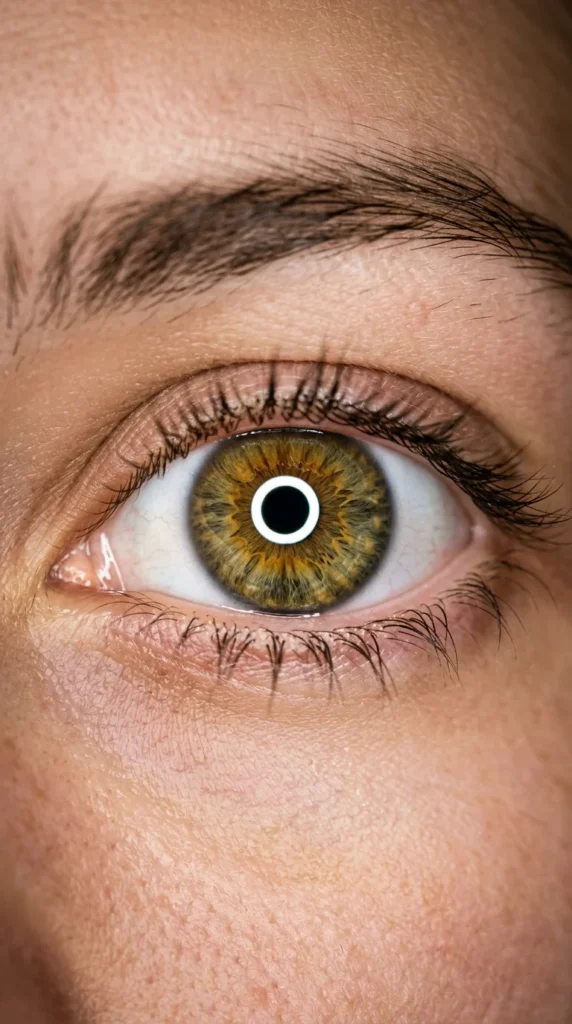
The “halo effect” refers to the circular reflection seen in the pupils of your eyes, known as catchlights. This is the signature look of a ring light. It makes your eyes appear bright, alert, and engaged. To achieve this, ensure you are looking directly through the center of the ring or that the ring is placed very close to your camera lens.
6. Dual Setup
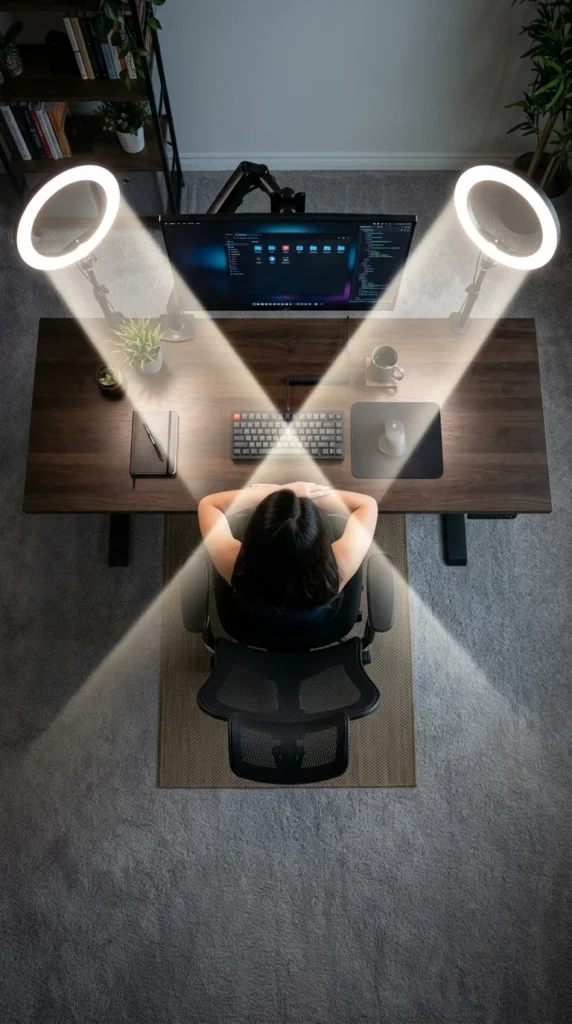
For those who want to eliminate all shadows, a dual ring light setup is the professional choice. By placing one light on either side of your face at 45-degree angles, you fill in the shadows that a single light might miss. This creates a “flat” lighting style that is incredibly flattering for all face shapes and minimizes the appearance of wrinkles or skin texture.
7. Camera Placement
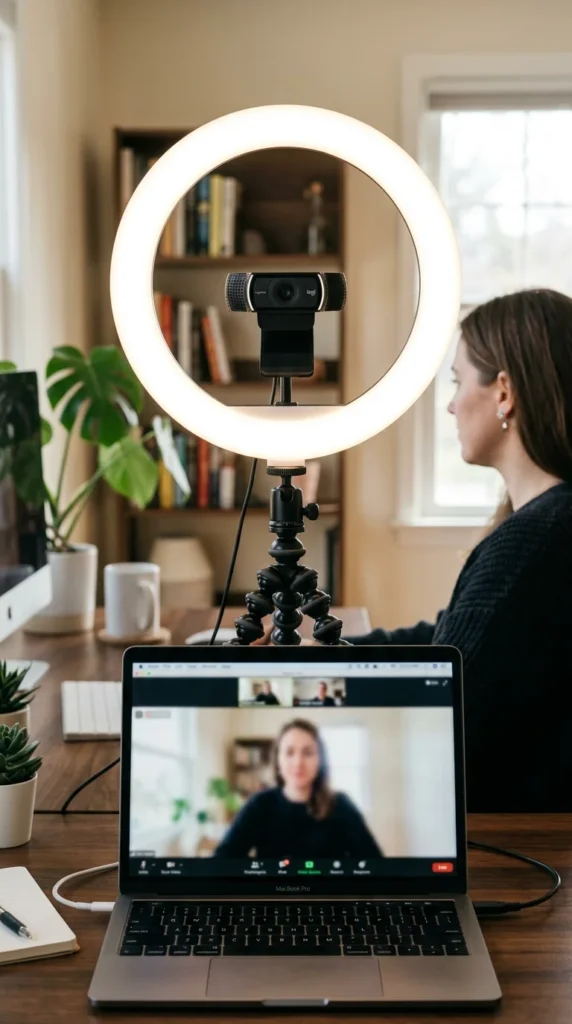
The most effective way to use a ring light is to place your camera (or laptop) directly in the center of the ring. This ensures that the light is coming from the exact same direction as the lens, which is the most flattering angle for human faces. Many ring lights come with a specific mount in the middle for your phone or a small webcam for this exact purpose.
8. Background Depth

Avoid sitting directly against a wall. Use your ring light to illuminate your face, but leave enough distance behind you to create depth. If you are too close to the wall, the ring light will cast a harsh shadow of your head onto the surface behind you. By moving a few feet away, you allow the light to fall off naturally, making you “pop” from the background.
9. Desk Clamps
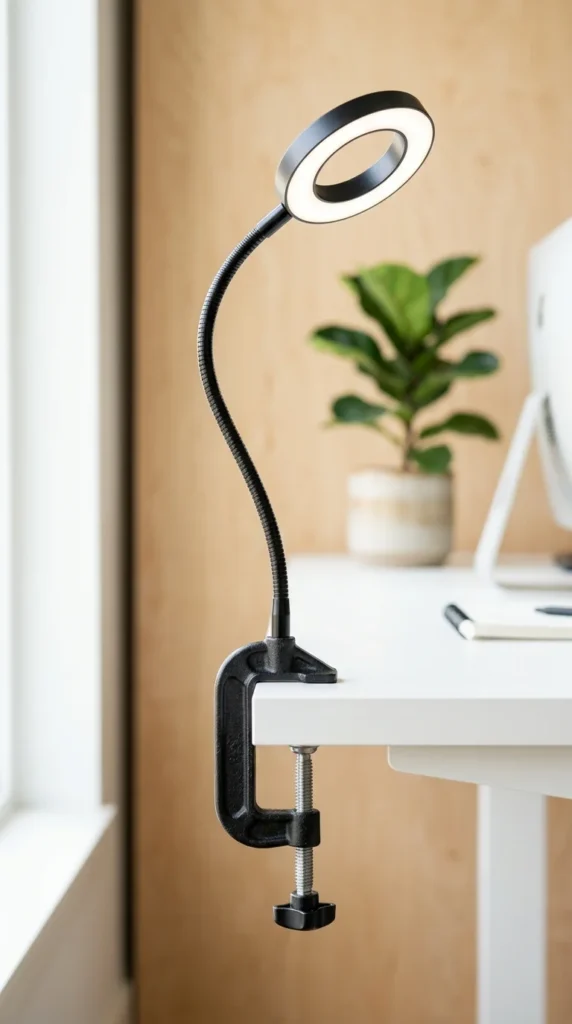
If you have limited desk space, skip the bulky tripods and opt for a ring light with a desk clamp. These attach directly to the edge of your table, saving valuable real estate for your keyboard and mouse. Flexible “gooseneck” arms allow you to position the light at unconventional angles if your monitor setup is particularly tall or wide.
10. Tripod Stability
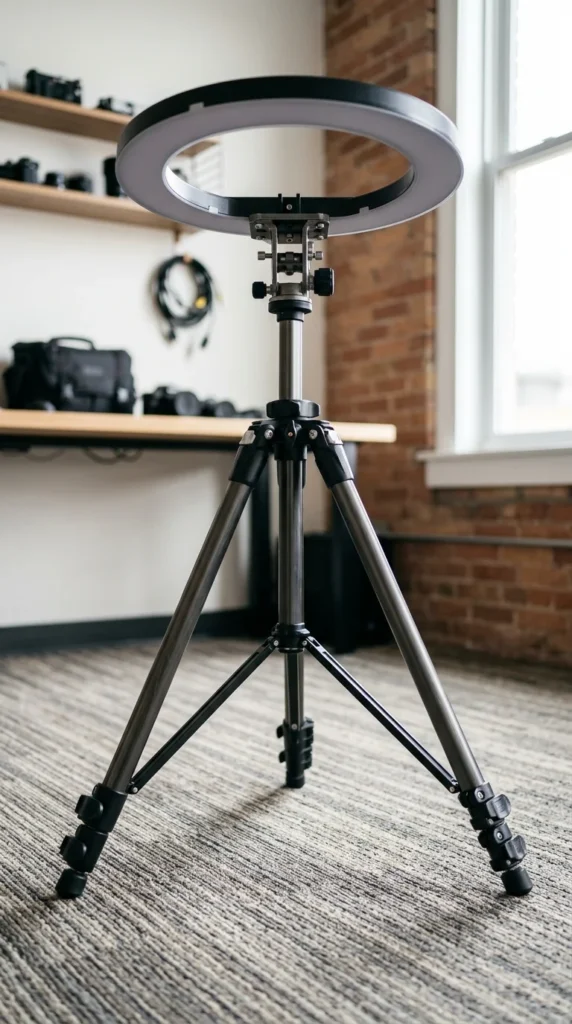
For larger, more powerful ring lights (12 to 18 inches), a floor-standing tripod is essential. Cheap, flimsy stands can vibrate when you type on your desk, causing your lighting to jitter on camera. Invest in a tripod with a wide base to ensure the light stays perfectly still throughout your entire Zoom presentation.
11. Reflection Management
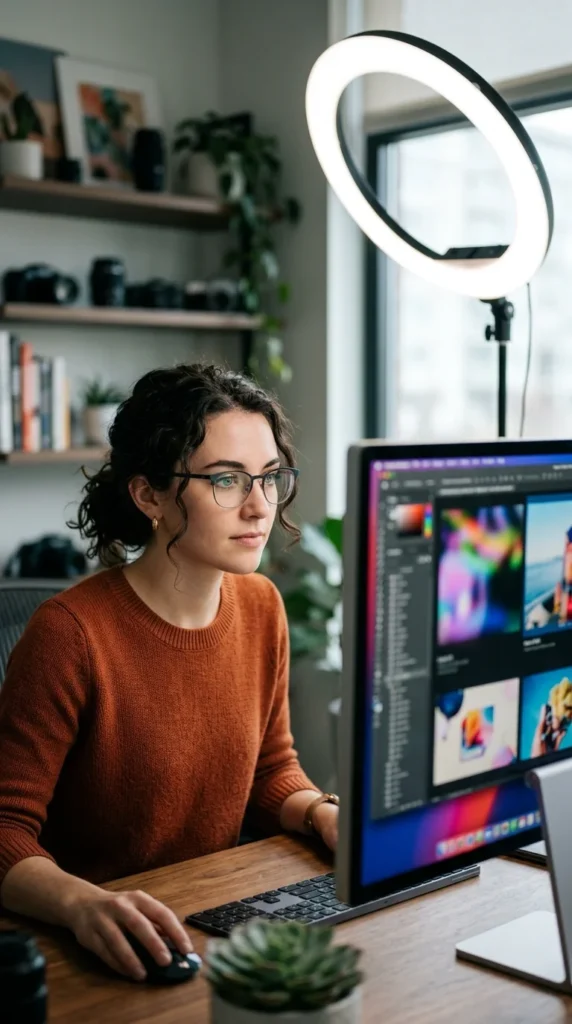
One of the biggest challenges for glasses wearers is the circular reflection on the lenses. To fix this, move the ring light slightly higher and tilt it downward, or move it slightly to one side. By changing the angle of incidence, the reflection will bounce away from the camera lens rather than directly into it, allowing your colleagues to see your eyes clearly.
12. Skin Tones
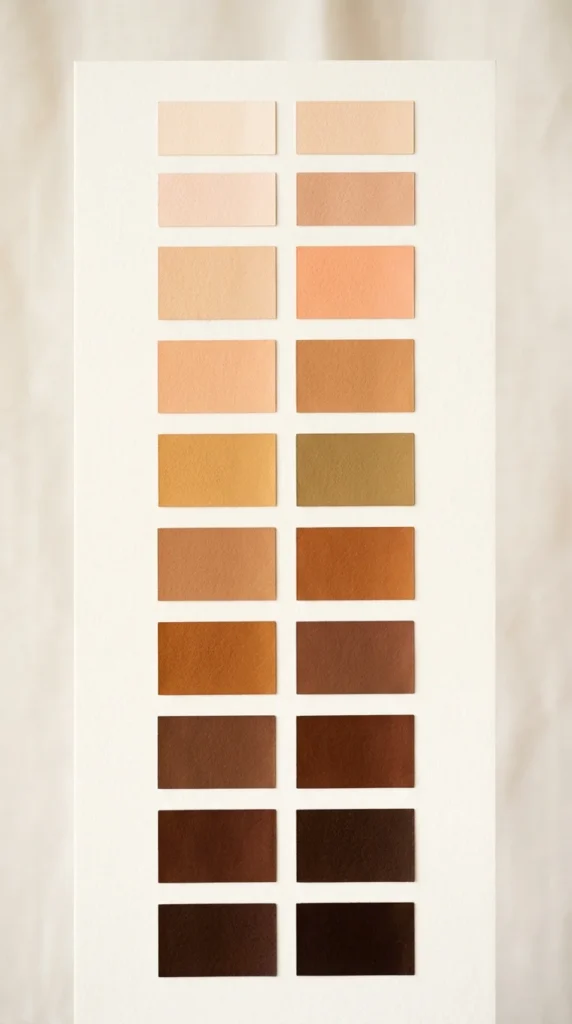
When buying a ring light, look for a High CRI (90+). The Color Rendering Index measures how accurately a light source reveals the true colors of an object. A low-quality light can make your skin look “muddy” or grey. A high CRI ring light ensures your skin looks vibrant and healthy, reflecting your natural tones accurately on the digital screen.
13. USB Power
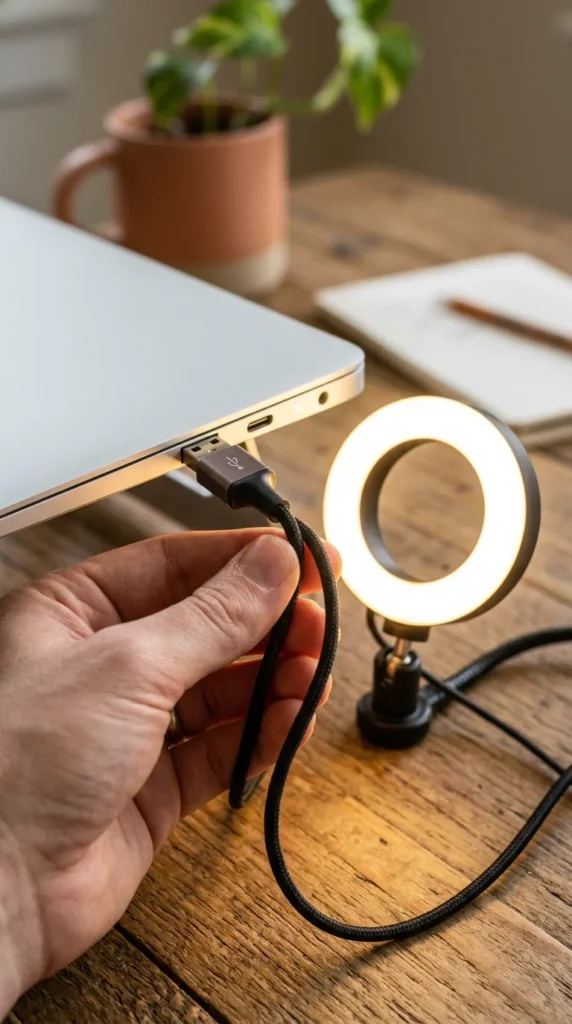
For the ultimate “pro on the go,” choose a ring light powered via USB. This allows you to plug the light directly into your laptop or a portable power bank, eliminating the need for a wall outlet. This is perfect for digital nomads or anyone who likes to move their “office” to different rooms throughout the day.
14. Remote Control
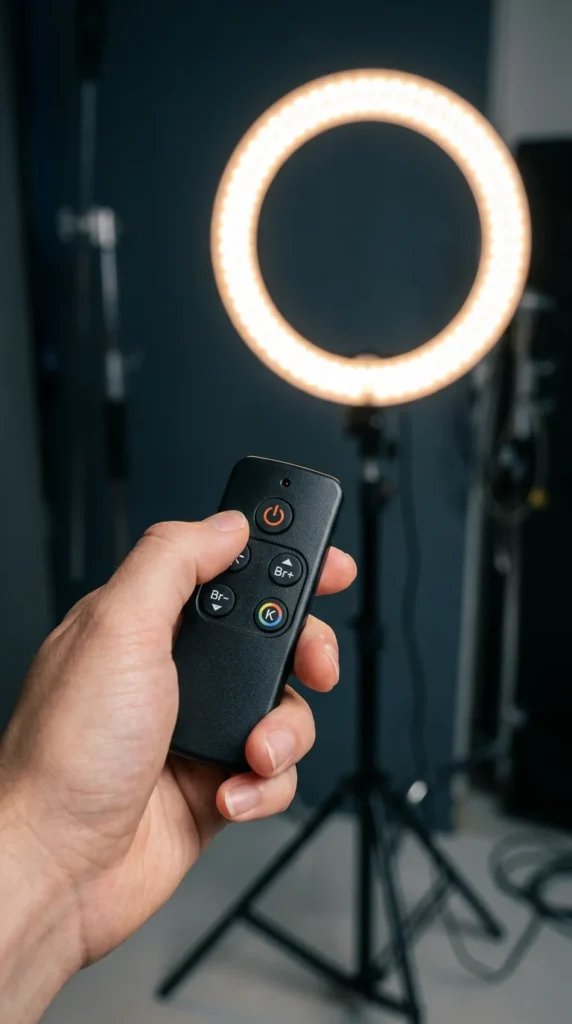
Adjusting your light in the middle of a call can be awkward if you have to reach across your desk and fumble with buttons on the back of the device. A ring light with a remote control allows you to subtly adjust your lighting settings without moving your body or breaking eye contact with the camera.
15. Angle Adjustment
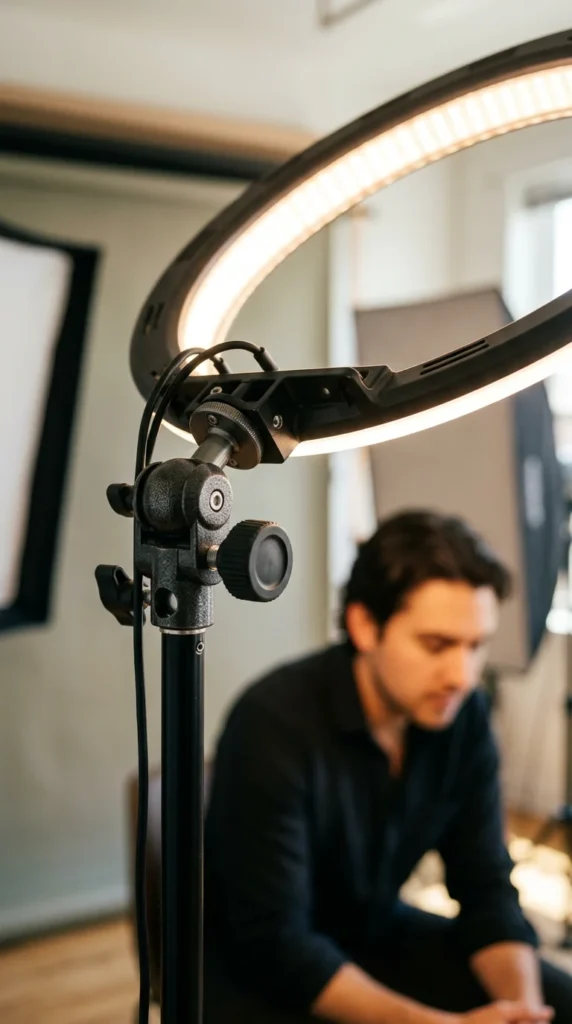
Don’t just point the light straight at your face. Sometimes, a slight tilt can create more professional-looking shadows that define your jawline and cheekbones. Experiment with tilting the light slightly downward (about 10-15 degrees) to mimic the way natural sunlight or overhead office lighting falls, which can look more “realistic” than direct frontal lighting.
16. Natural Light Mix
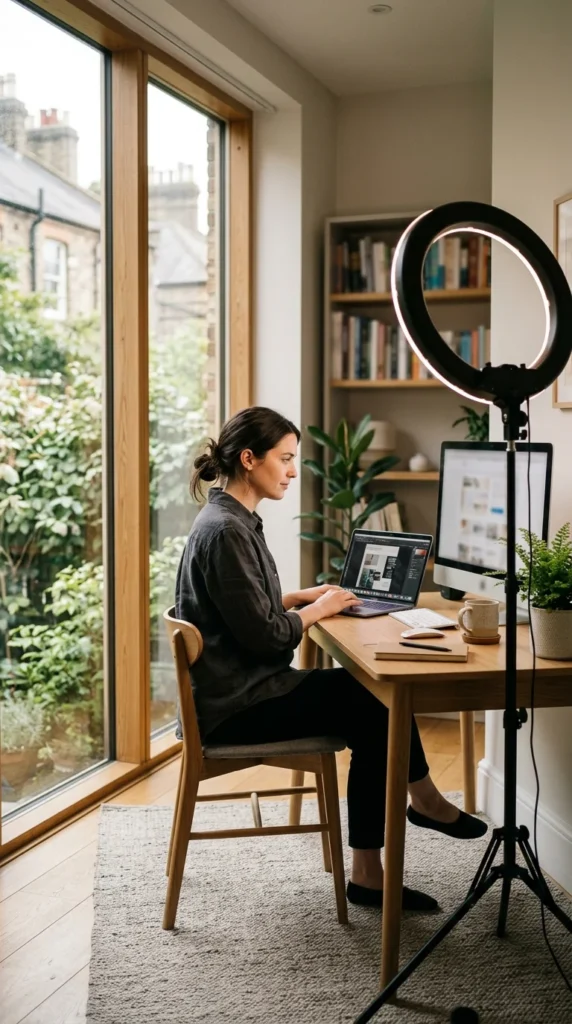
If you have a window in your office, don’t fight it—use it. Place your ring light on the opposite side of the window’s light. This uses the ring light as a “fill light” to balance out the bright natural light, preventing one side of your face from being in total darkness. This creates a high-end “cinematic” look used by professional photographers.
17. Portable Options
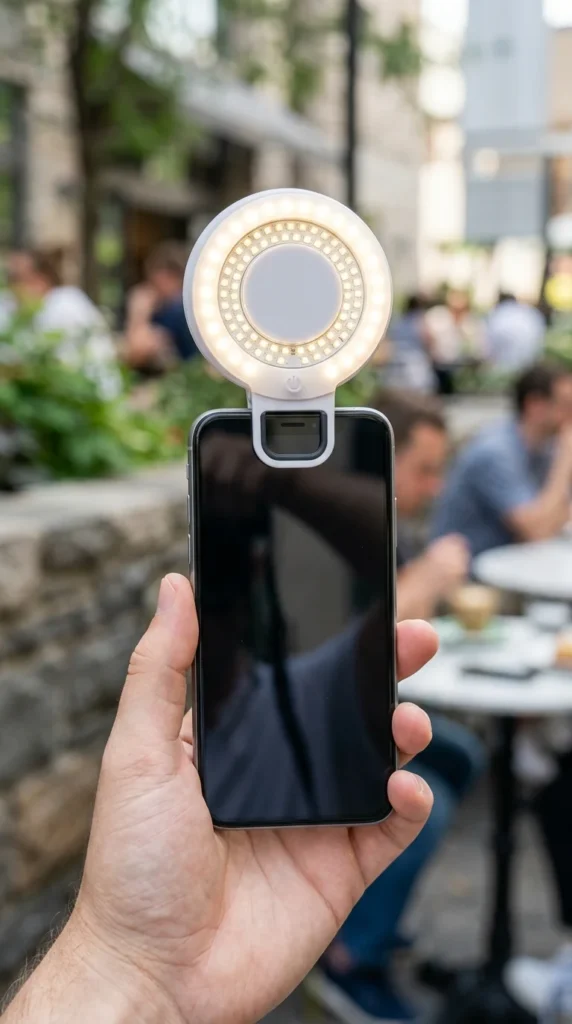
For those who take meetings on their phones or tablets, a mini clip-on ring light is a lifesaver. These small, battery-operated devices clip directly over the front-facing camera. They provide just enough light to clear up graininess in low-light environments like coffee shops or airport lounges.
18. Ring Light Size
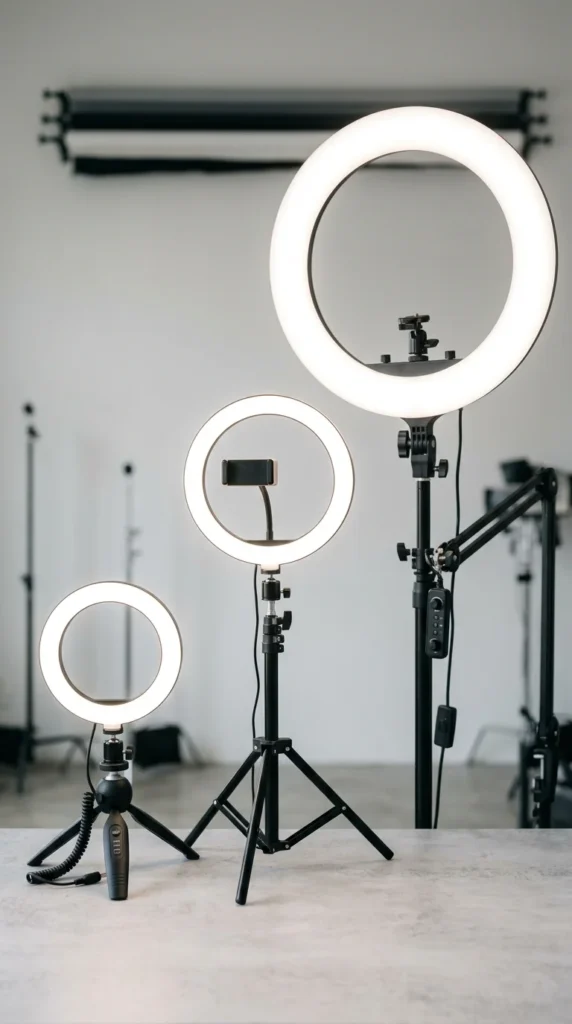
Size matters when it comes to the quality of light. A larger ring light (18 inches) creates softer light because the light source is physically bigger relative to your face. Smaller ring lights (6-10 inches) are more portable but produce “harder” light with more defined shadows. If you have the space, a larger ring is always more flattering.
19. RGB Colors
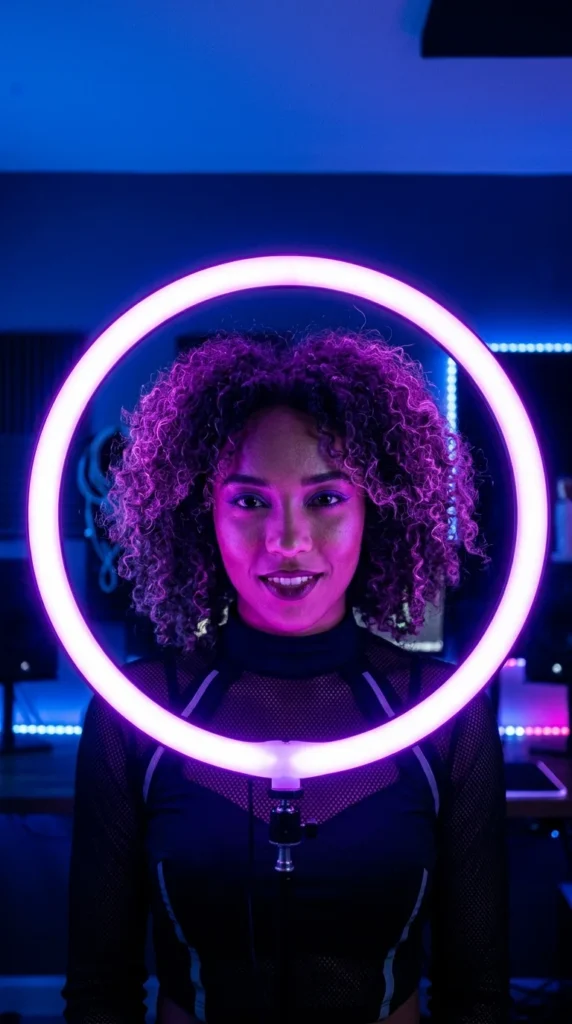
While most meetings require white light, some ring lights offer RGB (Red, Green, Blue) modes. You can use a second ring light set to a specific color and point it at the wall behind you. This creates a “wash” of color that can match your brand’s aesthetic or simply make your background look more visually interesting and modern.
20. Hair Lighting
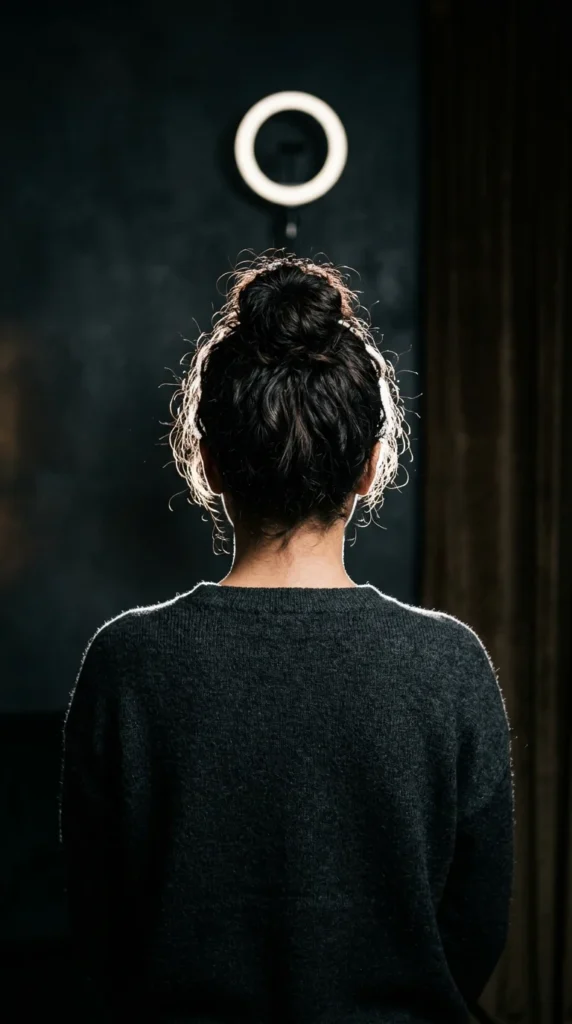
To truly look like a pro, use a small ring light as a “hair light.” Position it above and behind you, out of the camera’s frame, pointing at the back of your head. This creates a subtle glow around your shoulders and hair, which separates you from the background and gives the video a professional, three-dimensional depth.
21. Floor Stands
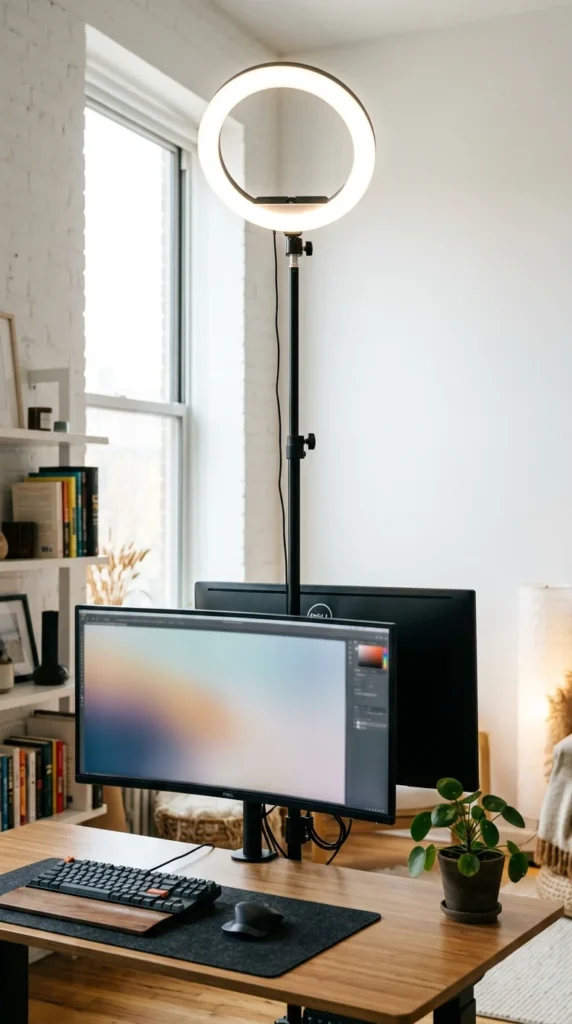
If your desk is cluttered or you use a standing desk, a floor stand is the best option. It provides the height necessary to stay at eye level even when you are standing. It also allows you to move the light further back, which can help in spreading the light more evenly across a wider area if you are presenting with another person.
22. Matte Makeup
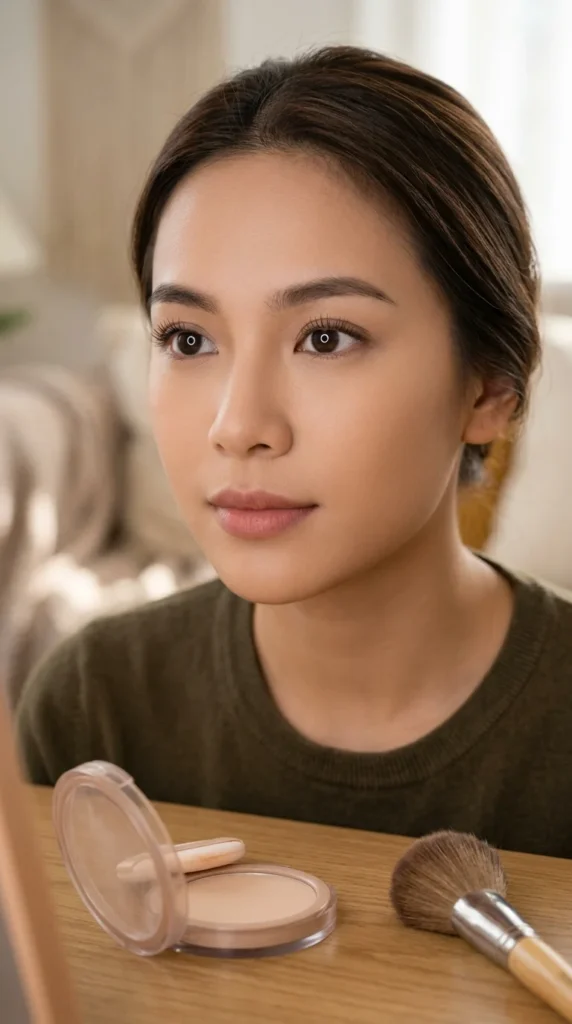
Ring lights can sometimes highlight oil on the skin, creating a “shiny” forehead or nose. To combat this, use a bit of matte translucent powder or oil-blotting papers before your meeting. This ensures the light reflects beautifully off your features rather than creating distracting glares on your skin.
23. Cable Management
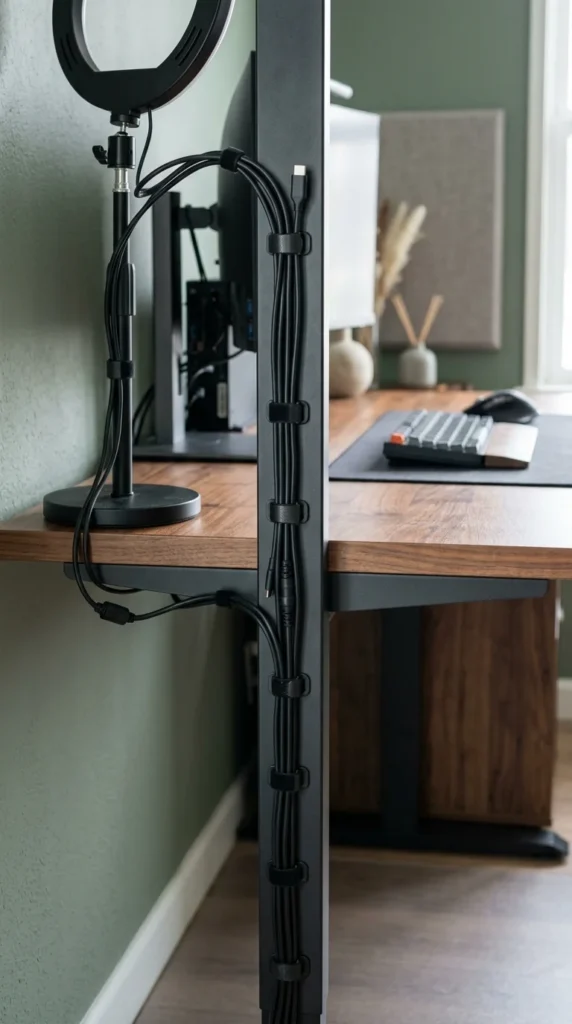
A pro setup isn’t just about what’s on camera—it’s about the environment you work in. Ring lights often have long power cords. Use cable clips or Velcro ties to secure the cord to the light stand. This prevents you from accidentally tripping over the wire or pulling the light down during an important presentation.
24. Softboxes vs. Rings
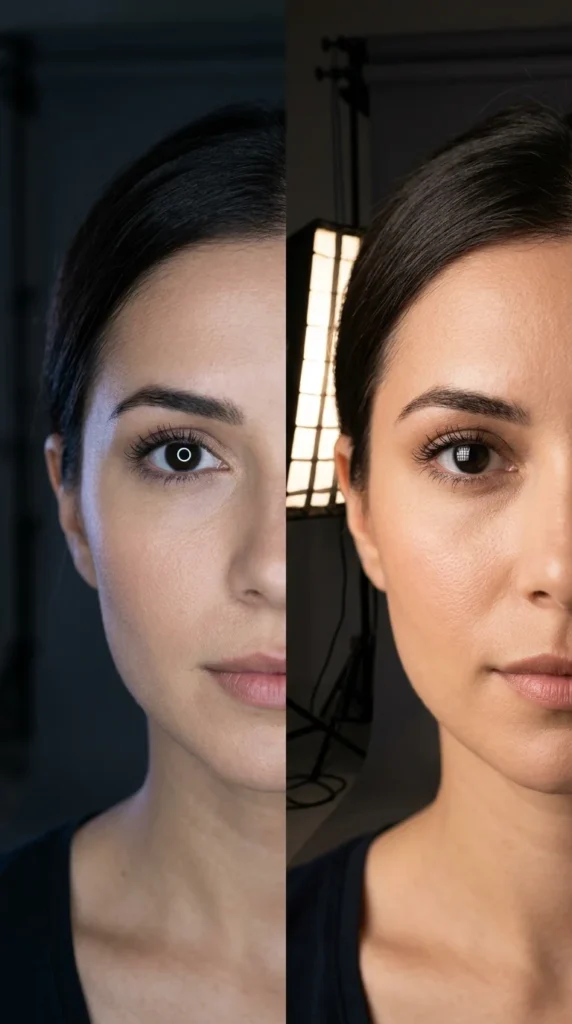
Understand the difference: a ring light is designed specifically to wrap light around the lens for shadowless frontal lighting. If you find the “halo” in your eyes too distracting, you can put a “sock” (a fabric diffuser) over the ring light to make it function more like a traditional softbox, providing a more classic, diffused light source.
25. Regular Testing
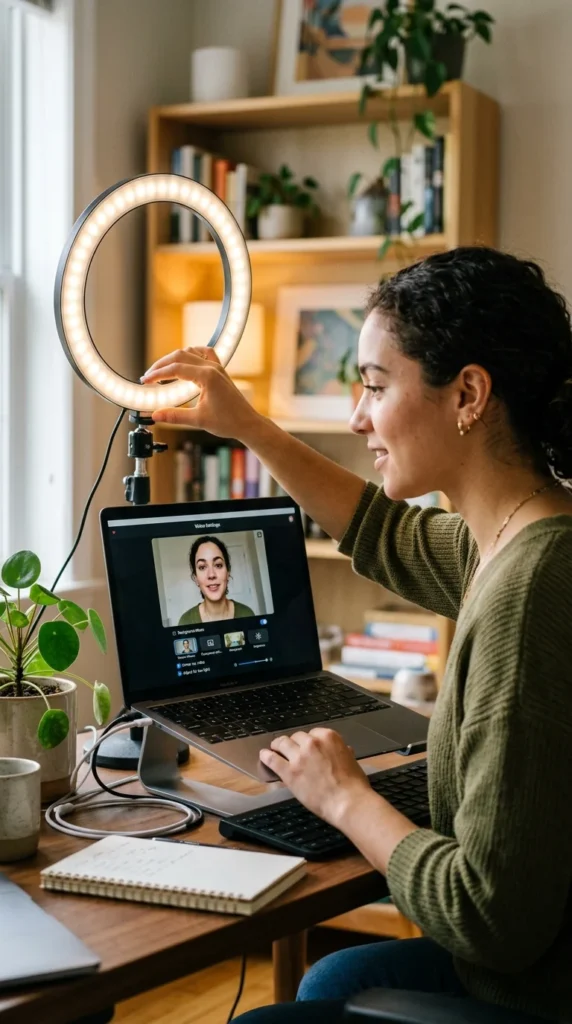
Never wait until the meeting starts to check your lighting. Open your camera app or Zoom’s “test video” feature five minutes early. Check for reflections in your glasses, harsh shadows, or a washed-out complexion. Making these small adjustments in advance ensures that when the meeting starts, you look like a confident, prepared professional.