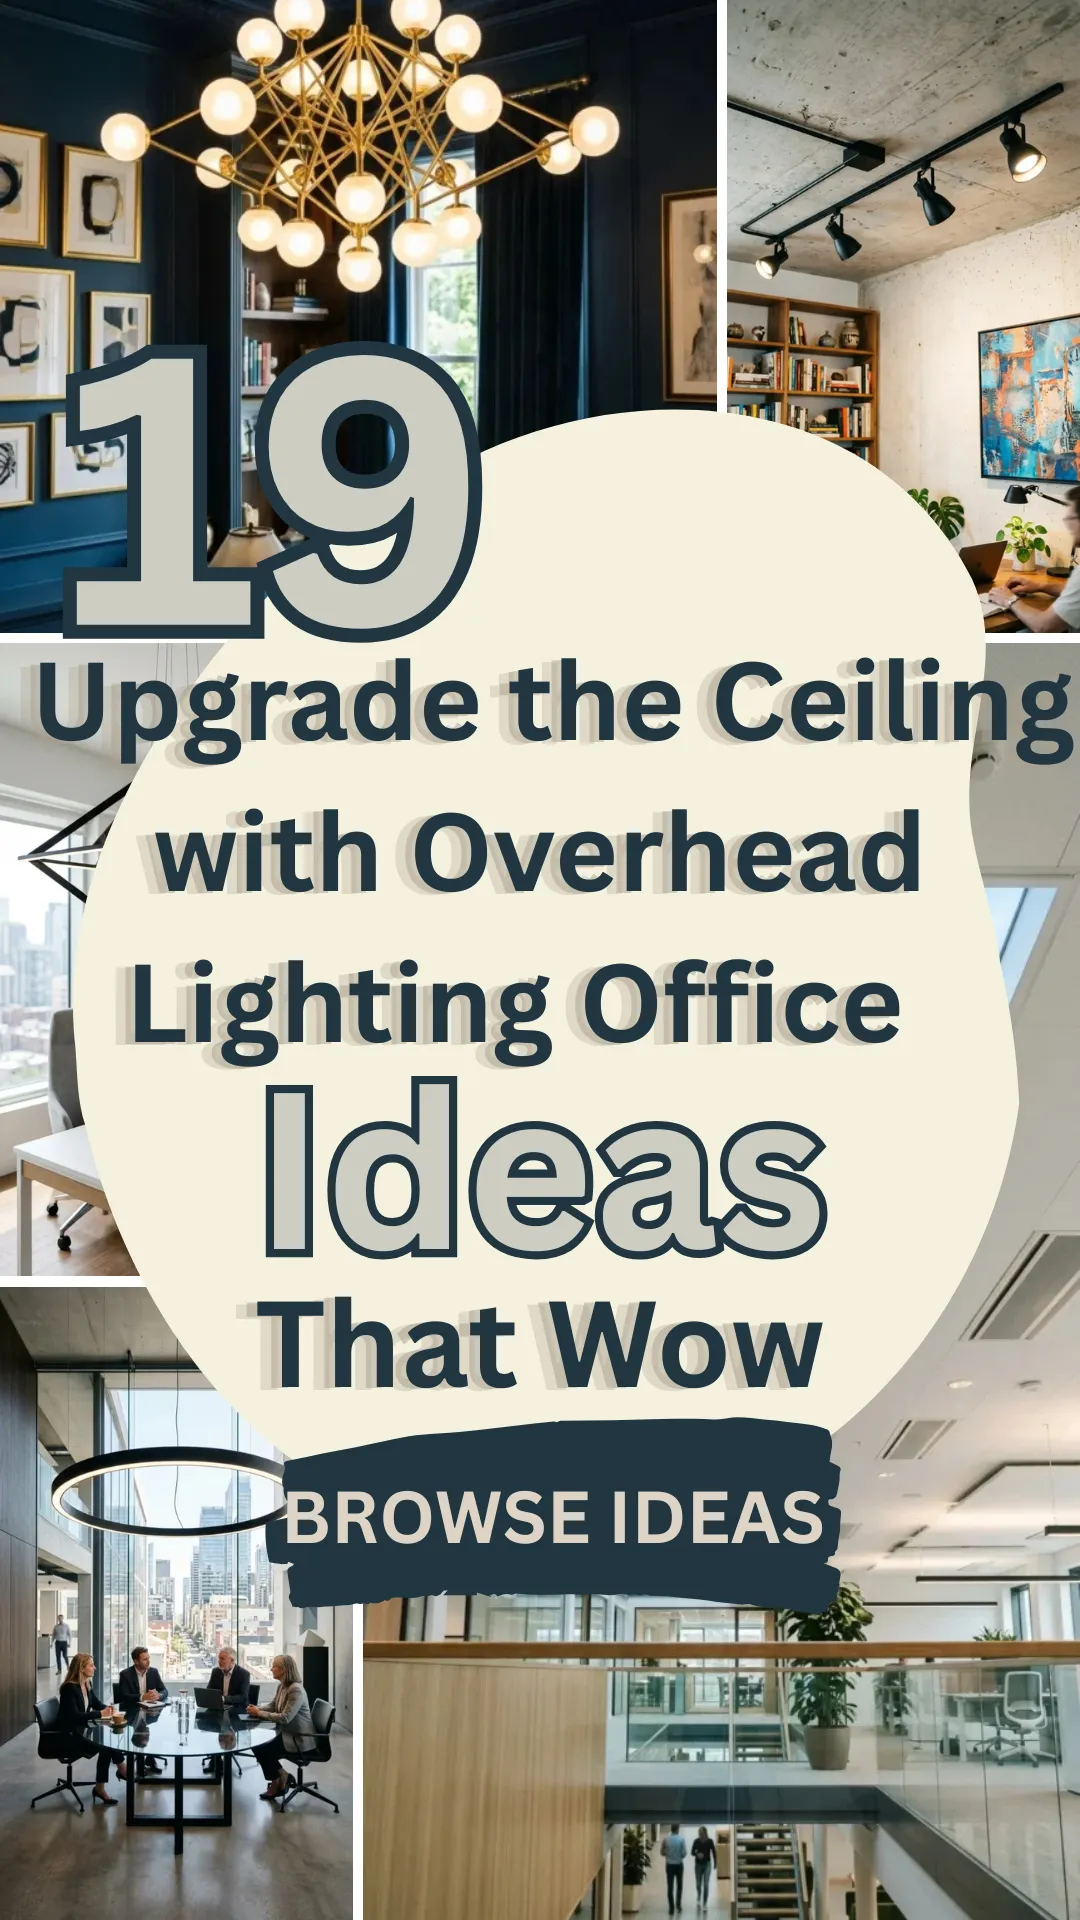
In the era of remote work and digital networking, your video quality is your new first impression. While a high-end camera helps, lighting is the true secret weapon of professional broadcasters and influencers. A ring light is uniquely designed to provide even, shadowless illumination that smooths skin tones and makes eyes sparkle. To help you master your virtual presence, here are 20 ways to set up your ring light for maximum impact.
1. Frontal Placement
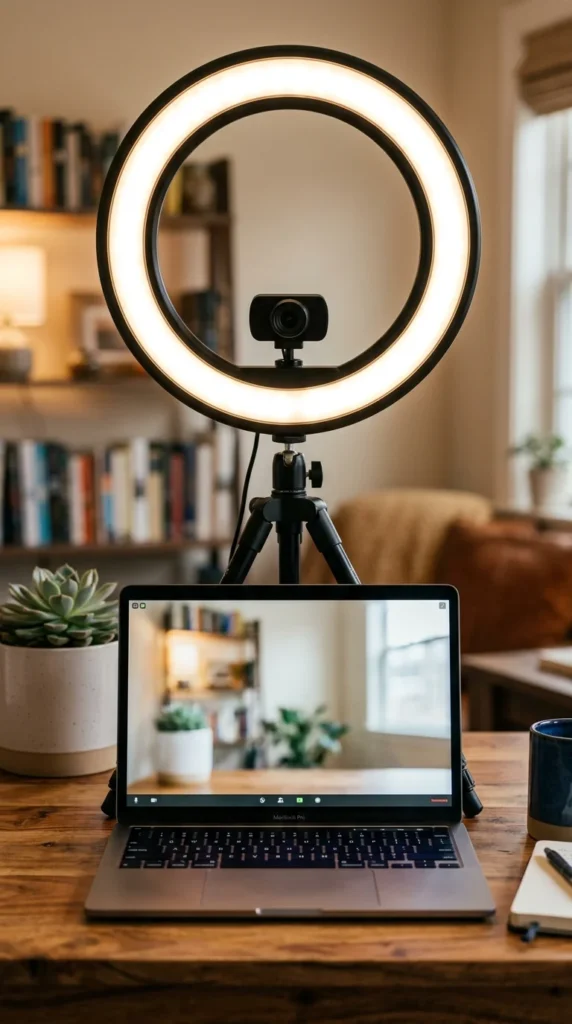
The most common and effective setup is placing the ring light directly in front of you. By positioning the camera lens in the center of the ring, the light wraps around the lens, eliminating shadows under the nose and eyes. This “flat lighting” is incredibly flattering for skin texture, making it the gold standard for professional Zoom meetings.
2. Elevated Angle
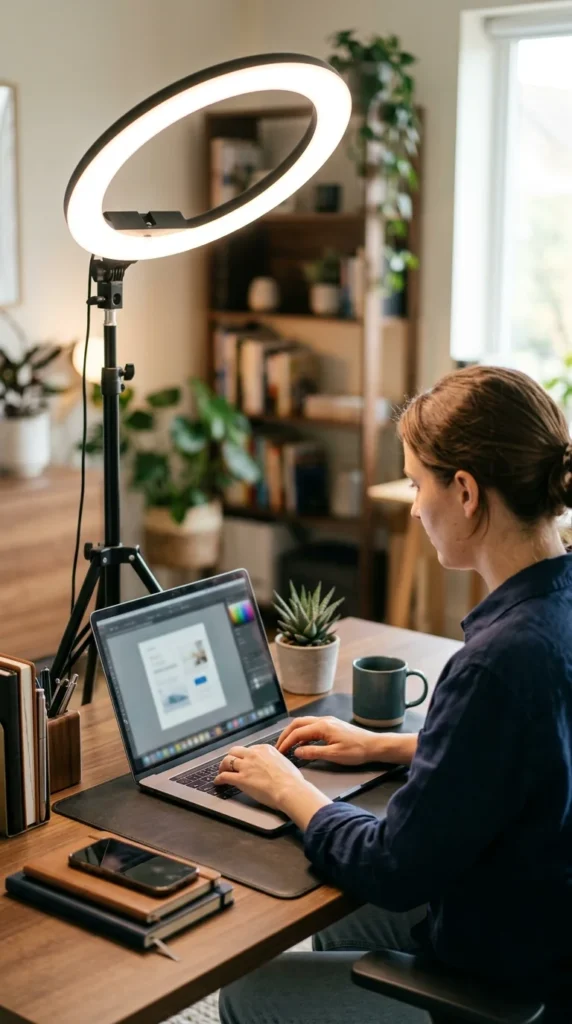
Positioning your light slightly above eye level and tilting it down toward your face at a 30-to-45-degree angle mimics the natural direction of sunlight. This setup helps define your jawline and prevents the “flat” look that can sometimes occur with direct frontal lighting. It adds a touch of professional dimension to your video feed.
3. Warm Tones
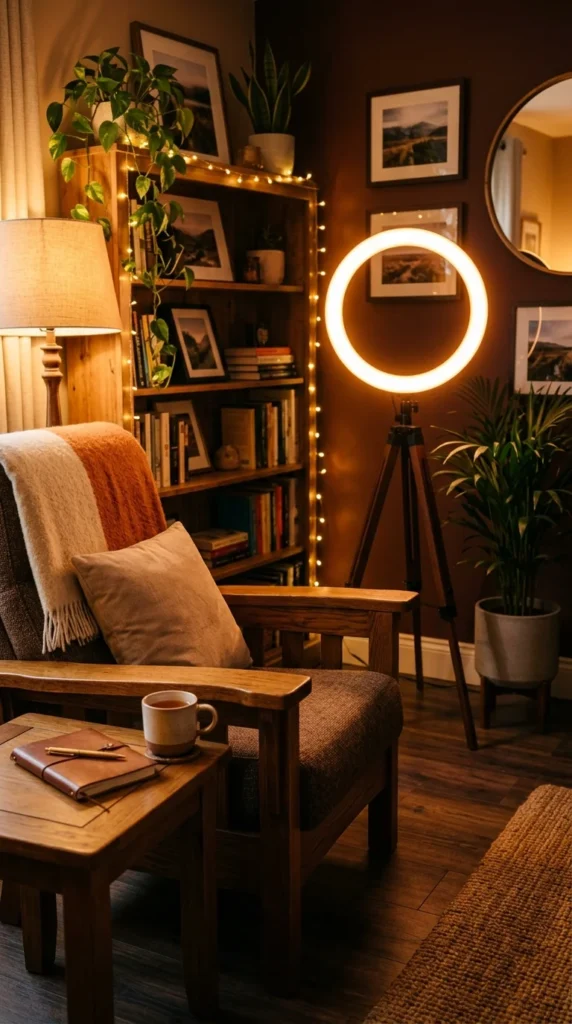
Most modern ring lights offer adjustable color temperatures. For late-afternoon calls or if you want to appear more energized and “sun-kissed,” dial your light toward the warmer end of the spectrum (around 3200K). This works exceptionally well if your room has warm wood accents or if you want to avoid the sterile look of office lighting.
4. Cool Daylight
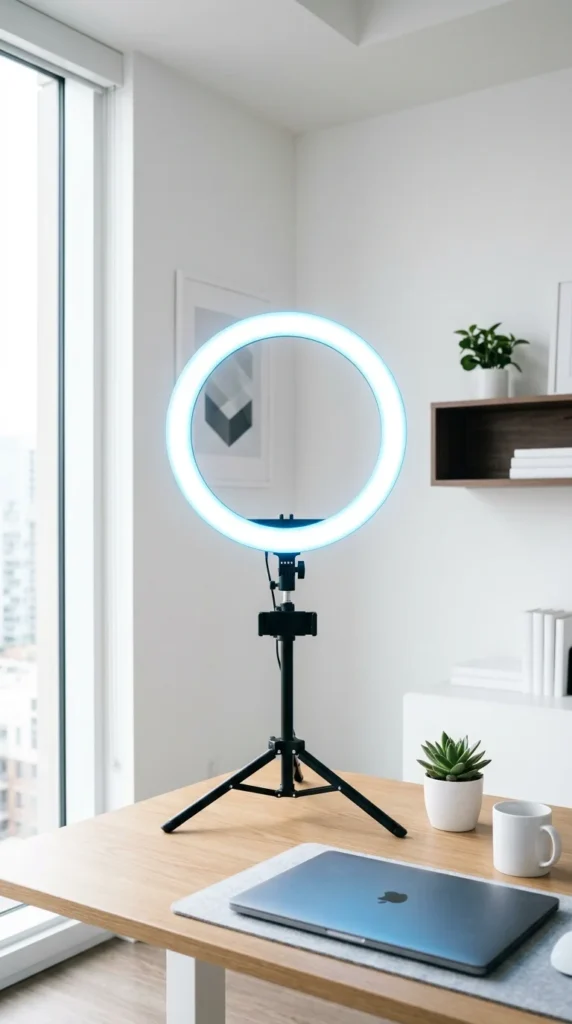
If you are aiming for a crisp, clean, and highly professional aesthetic, set your ring light to a daylight temperature (around 5600K). This mimics the light of a bright morning and is excellent for high-stakes presentations where you want to look sharp, alert, and detailed. It pairs perfectly with modern, white, or grey backgrounds.
5. Dual Setup
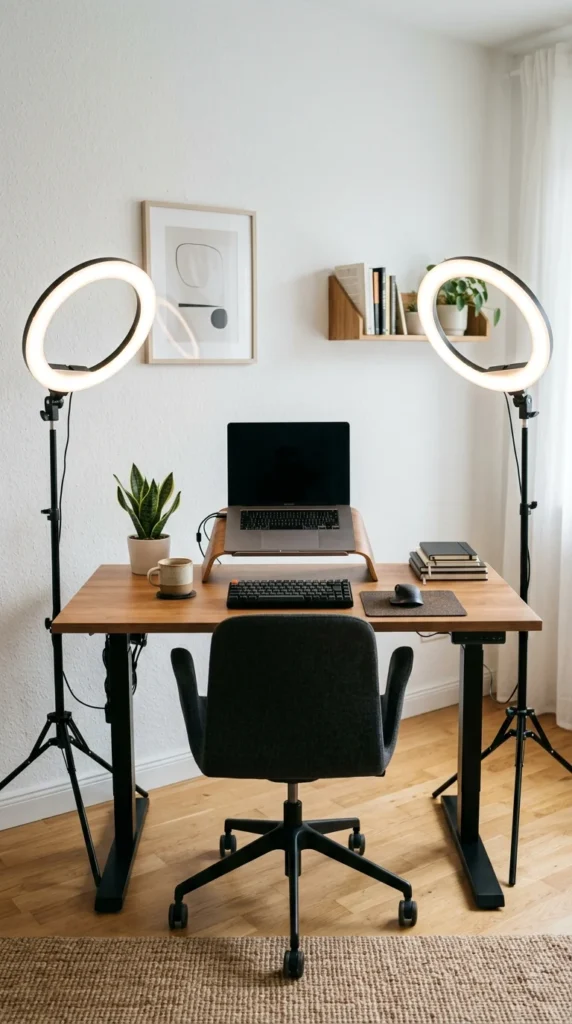
For those who want to eliminate shadows entirely, using two smaller ring lights instead of one large one is a game-changer. Place one on the left and one on the right of your monitor. This “cross-lighting” ensures that no matter which way you turn your head during a call, your face remains perfectly illuminated without any “dark side” effects.
6. Eye Level
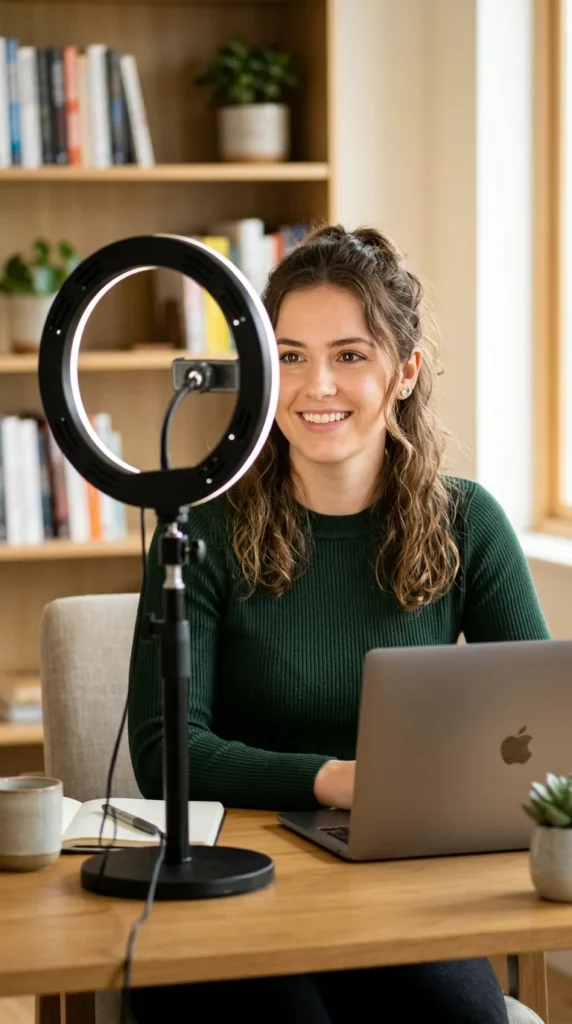
Avoid placing your light too low, which can create “monster lighting” (shadows casting upward). Keeping the center of the ring at eye level ensures that the “catchlight”—the little white reflection in your pupils—is centered. This makes you look more engaged and focused, helping you connect better with your audience through the screen.
7. Diffused Glow
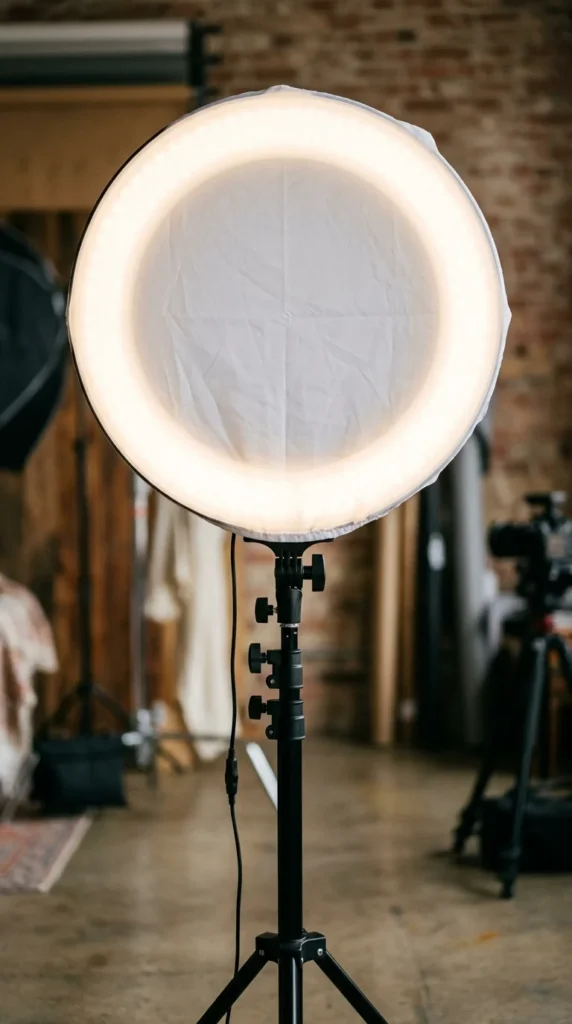
If the LEDs on your ring light feel too harsh on your eyes or create “hot spots” on your skin, use a diffuser. Many lights come with a plastic cover, but you can also drape a thin white silk or professional diffusion paper over it. This scatters the light, creating a soft-box effect that is much gentler on the features.
8. Reflection Control

If you wear glasses, the circular reflection of a ring light can be distracting. To fix this, move the light slightly to the side or raise it higher and tilt it down more aggressively. This moves the reflection off the sweet spot of your lenses, allowing people to see your eyes clearly without the “glowing circles” obstructing the view.
9. Backlit Depth
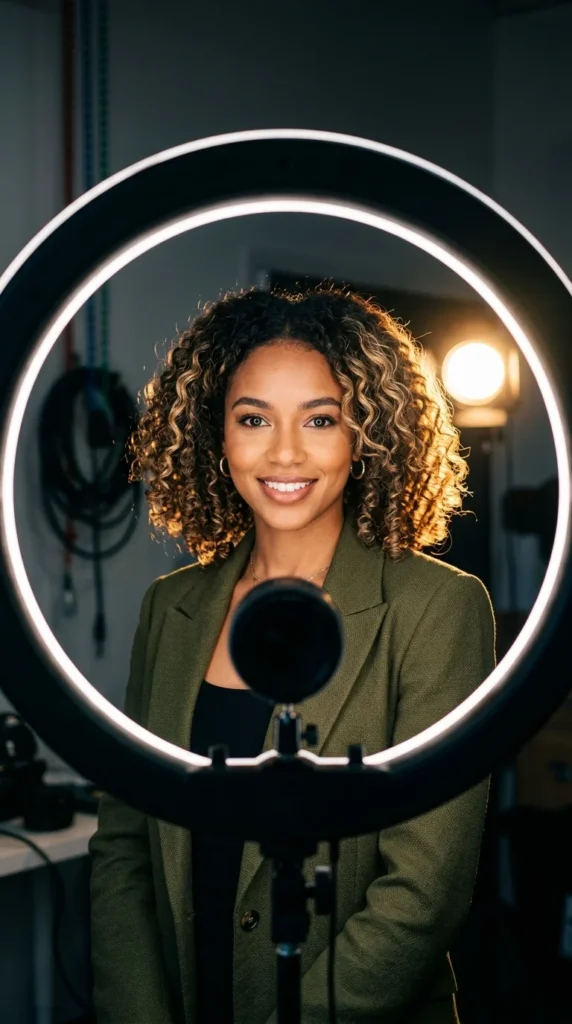
To truly look like a pro, use your ring light as your primary source and a secondary light (or even a second smaller ring light) behind you. This “hair light” or “rim light” creates a thin halo of light around your shoulders and hair, separating you from the background and providing a 3D effect that prevents you from looking like a “flat” image on the screen.
10. Dimmer Mastery
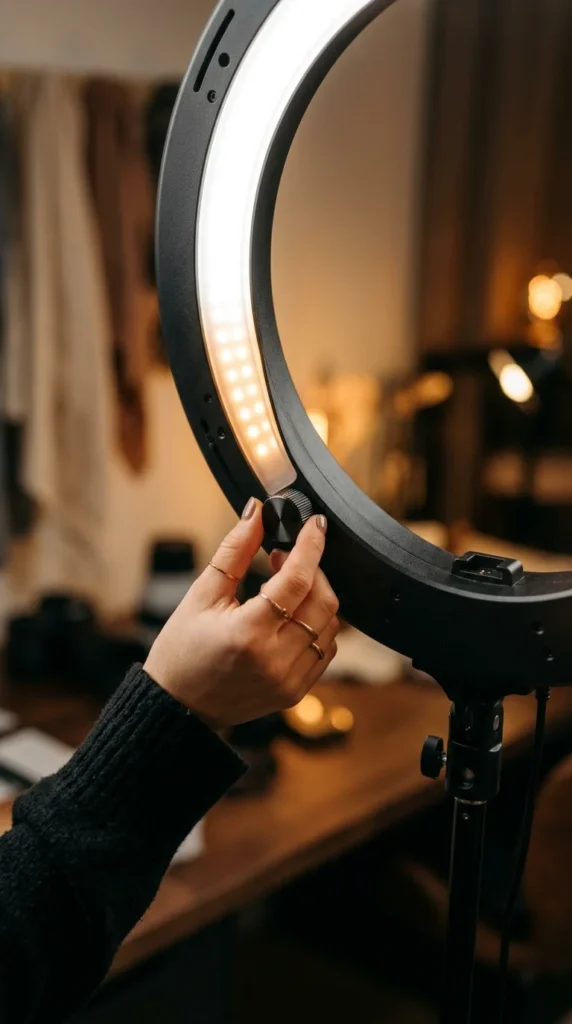
Don’t always run your light at 100% brightness. High intensity can wash out your features and cause squinting. Start at the lowest setting and slowly turn it up until your face is clear but your skin still retains its natural texture. A lower brightness setting also helps the ring light blend more naturally with the other lights in your room.
11. Desk Tripod
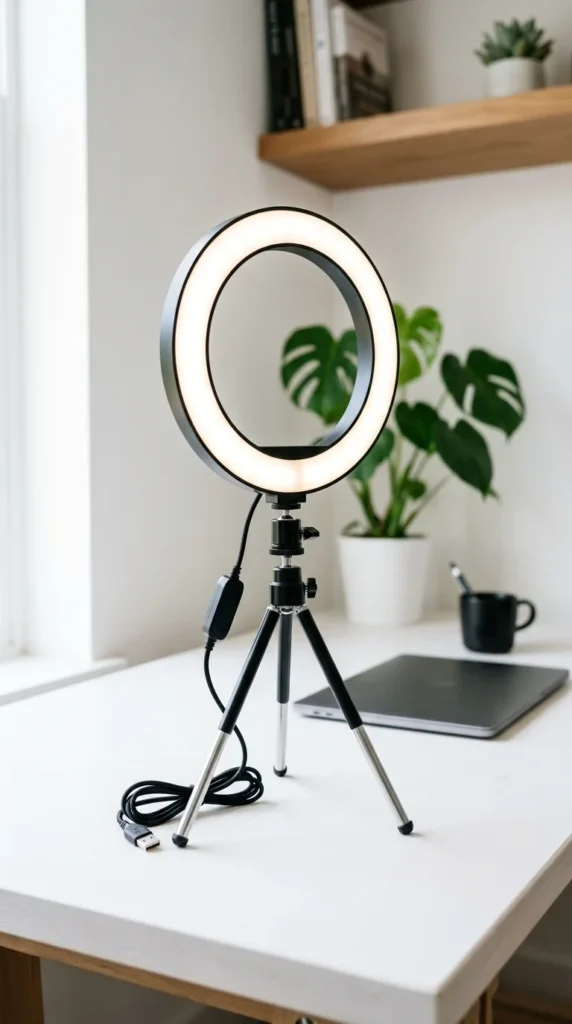
For those with limited space, a desk-mounted tripod is the best solution. It keeps the light stable and close to the camera without requiring a bulky floor stand. This setup is perfect for laptop users who move their “office” from the kitchen table to a dedicated desk throughout the day.
12. Wall Bounce
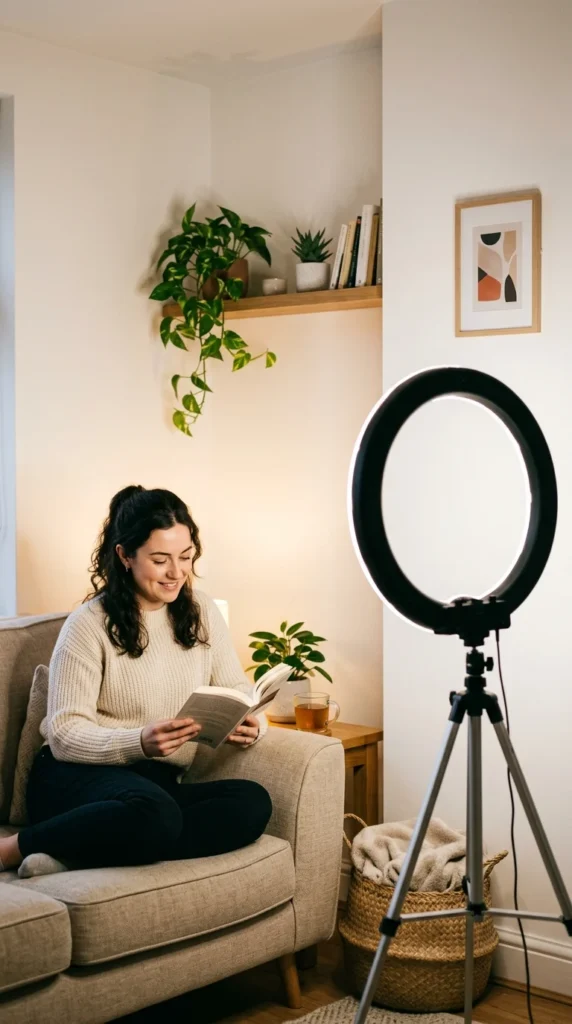
If you find direct light too intense, try pointing your ring light at a white wall directly behind your monitor. The light will bounce off the wall and back onto your face. This creates an incredibly soft, “wrap-around” light that mimics a large professional softbox, making the lighting look much more expensive than it actually is.
13. Side Fill
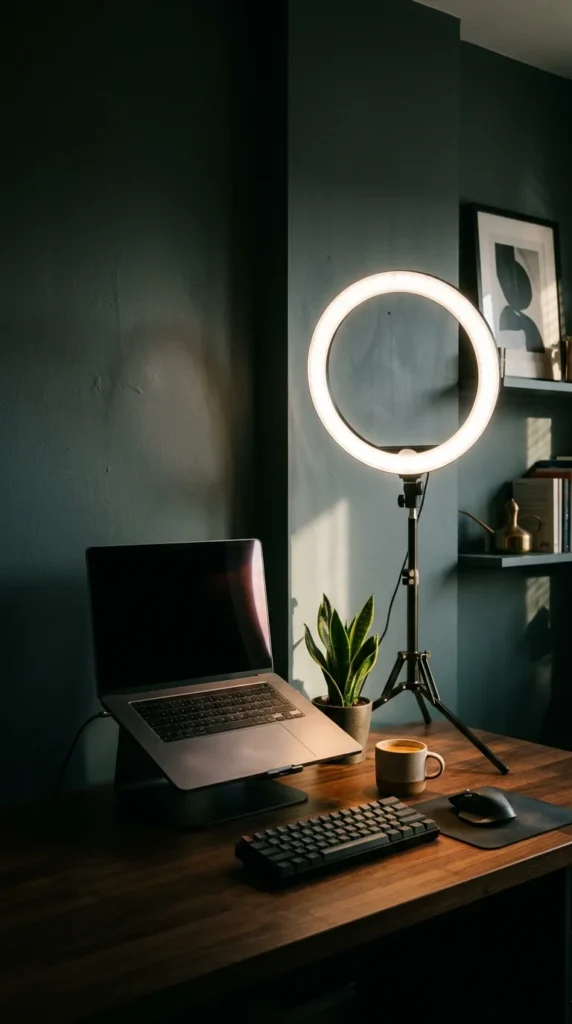
Sometimes, a bit of drama is good. Placing the ring light to the side creates a “Rembrandt” lighting effect, where one side of the face is lit and the other has a soft shadow. This is great for creative professionals or casual coffee chats where you want a more cinematic, moody look rather than a flat corporate one.
14. Background Pop

Who says the ring light has to point at you? You can use a smaller ring light to illuminate your background. Pointing it at a plant, a piece of art, or a bookshelf behind you can make your environment look more high-end and curated, providing a pleasant visual for your colleagues to look at.
15. Natural Blend
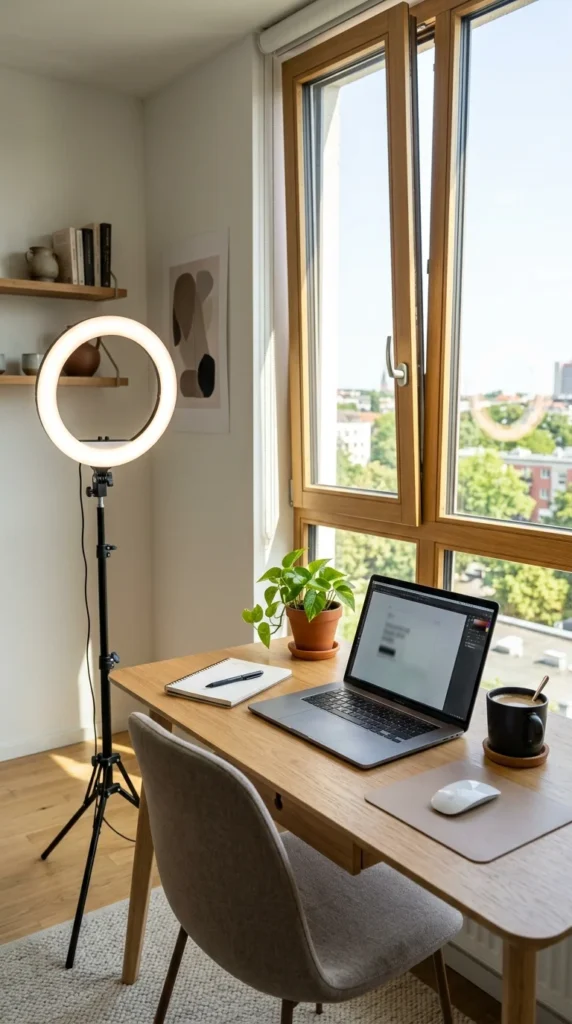
If you have a window in your office, don’t fight it—use it. Place your ring light on the “dark side” of your face (the side furthest from the window). Match the color temperature of the ring light to the natural daylight. This balances the lighting across your face, using the sun as your “key light” and the ring light as your “fill light.”
16. Clip-On Portability
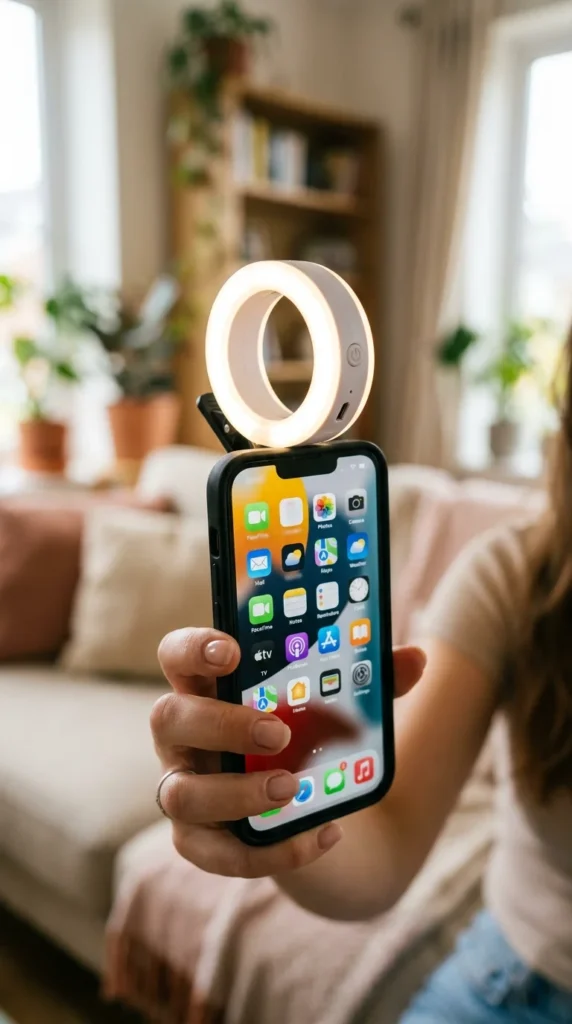
For the professional on the move, a small clip-on ring light is essential. These are battery-powered and fit in a pocket. They provide enough light to clear up graininess in your video during airport calls, hotel room meetings, or when you’re working from a café with poor overhead lighting.
17. Floor Stand Height
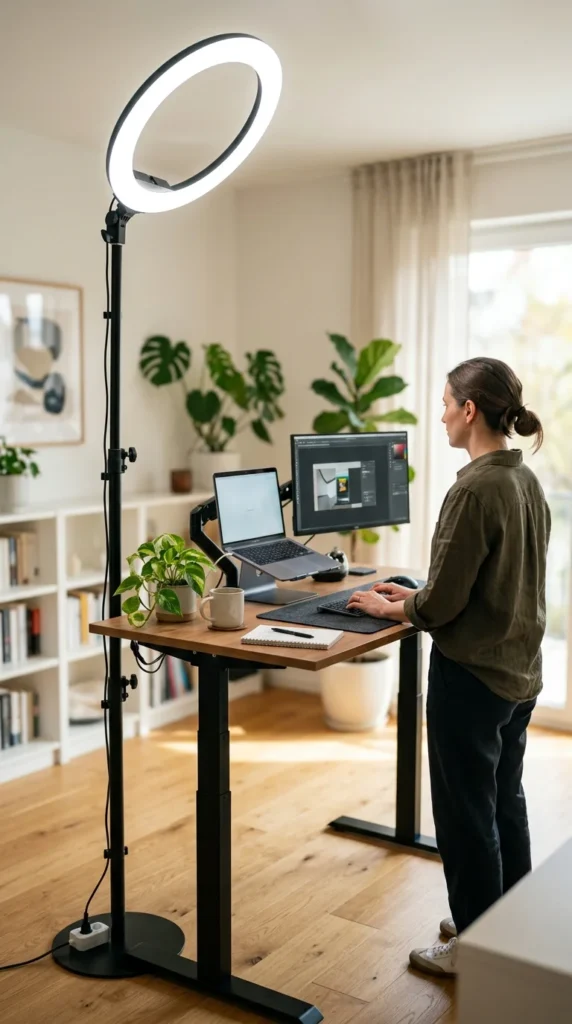
If you use a standing desk, a desk-mounted light won’t always reach. A sturdy floor stand allows you to position a large ring light at the perfect height, regardless of whether you are sitting or standing. It also keeps your desk surface clutter-free, providing a more organized workspace.
18. RGB Accents
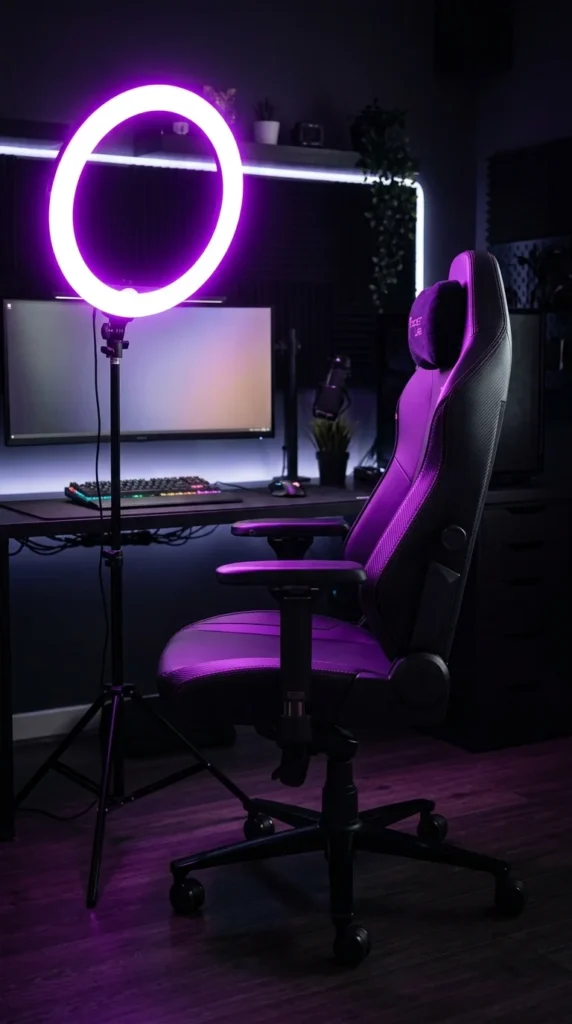
Many high-end ring lights now feature RGB (Red, Green, Blue) modes. While you might use white light for your face, you can set the light to a soft blue or purple during more casual “happy hour” Zoom calls or creative brainstorming sessions to add personality and a “tech-forward” vibe to your stream.
19. Catchlight Focus
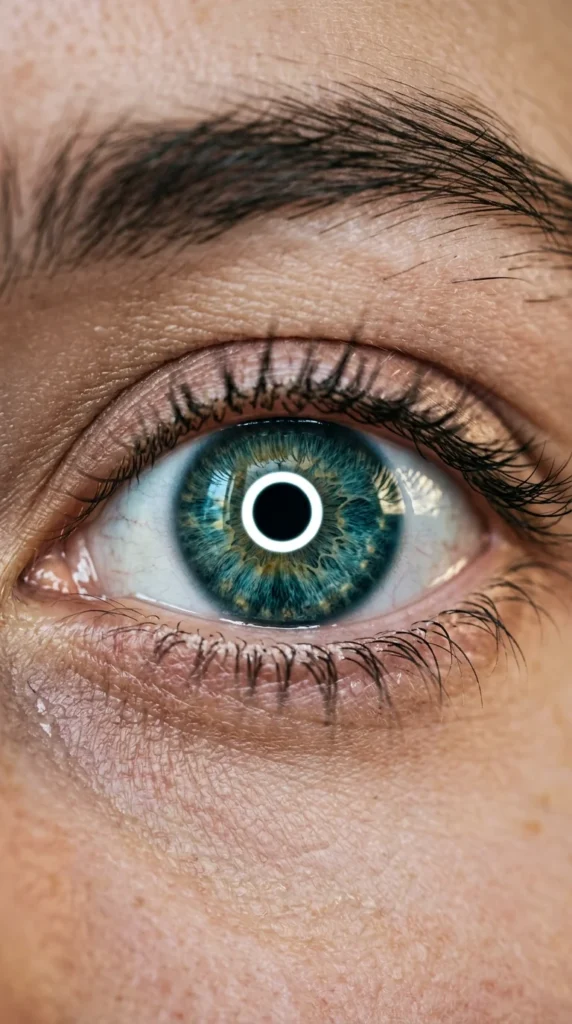
The “ring” shape is famous because of the circular catchlight it leaves in the eyes. To make this pop, ensure the light is close enough to you (about 2-3 feet). This circular reflection gives your eyes a “life” and “sparkle” that traditional square lights can’t replicate, making you appear more vibrant and energetic on camera.
20. Travel Kit Setup
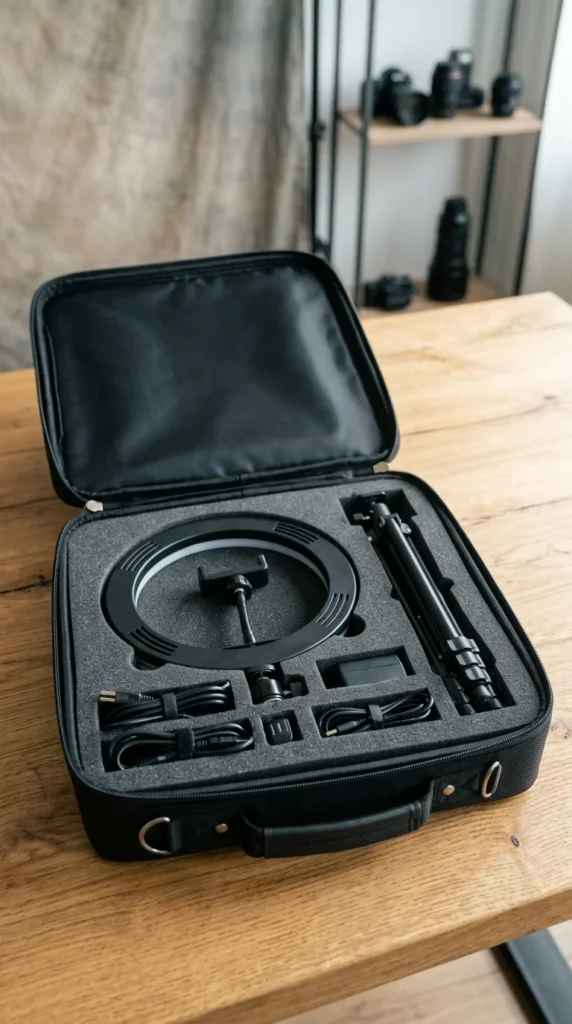
Consistency is key for a professional brand. Invest in a ring light that comes with a dedicated travel case. This ensures that whether you are at home, in an office, or at a remote location, your “lighting look” remains identical. Being able to set up your signature lighting in under two minutes anywhere in the world is the hallmark of a true remote professional.