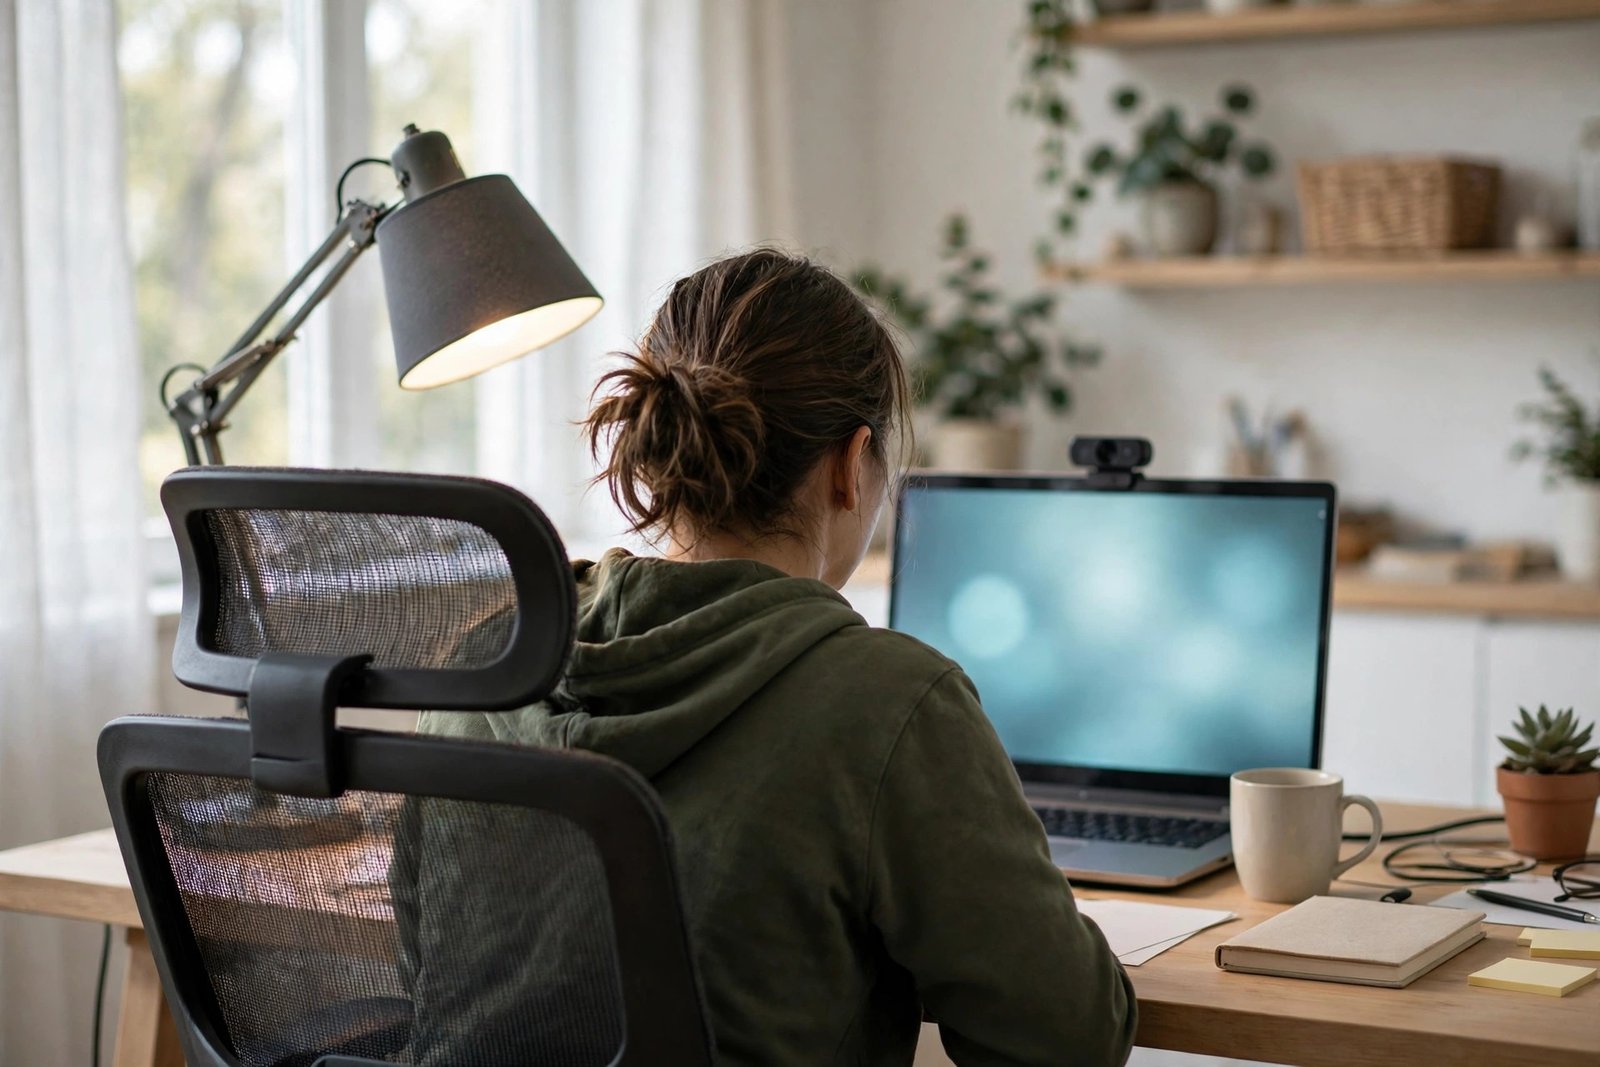
You join a video call and see yourself the way everyone else does: half your face in shadow, your skin looking oddly grey, or a bright patch of glare washing out your forehead. The camera is rarely the real problem. In most home offices, the light is simply in the wrong place — behind you, above you, or bouncing straight off your glasses and screen.
The good news is that you do not need special equipment to look clear and natural on calls. You need your main light in the right position, at the right height, and softened a little. This guide shows you exactly where to put it, how to handle windows and ordinary lamps, and how to test your setup in two minutes before an important call.
Quick Answer
The best lighting position for video calls is in front of you, slightly above your eye level, and angled down gently at your face, a little to one side. This lights your face evenly, keeps shadows soft, and avoids glare on glasses and screens. Never sit with a bright window or lamp directly behind you, and avoid a bare ceiling light shining straight down, which creates deep shadows under your eyes.
- Main light in front of you, just above eye level, slightly off to one side.
- Soften the light with a shade, a diffuser, or by bouncing it off a wall.
- Keep bright windows behind the camera, not behind you.
- Test with your camera app before the call, not during it.
The Basic Rule: Light Your Face, Not the Room
A webcam sees a small slice of the world: you, and a little of the room behind you. General room lighting is designed for walking around and working, not for showing a face. That is why a room can feel perfectly bright while your face on screen looks dull — the light is landing on the desk, the floor, and the back wall, but not on you.
So think of call lighting as its own small setup. Your main light — often called the key light — has one job: to light your face clearly and kindly. Everything else in the room is background. Once you separate those two jobs, positioning becomes simple.
It also helps to get the screen itself in a sensible place, because your face needs to be level with the camera for the light to fall well. If your screen sits too low, you look down all call and shadows gather under your chin. The checks in our guide to a monitor at the wrong height will put the camera where the light can do its work.
Finding the Sweet Spot: Height, Distance and Angle
Height: slightly above your eyes
Place the light a little above your eye level, pointing gently down at your face. Light from this height mimics daylight and gives soft, natural shadows under the chin instead of the harsh ones you get from a ceiling light. A lamp on a stack of sturdy books, a shelf beside the desk, or an adjustable arm all work. Avoid placing the light below your face; uplighting looks strange and theatrical, and it highlights the ceiling instead of you.
Distance: close, but not fierce
Light gets softer and more flattering as it gets closer — up to a point. About an arm’s length to a metre and a half away is a good range for a desk lamp. Too far away and it becomes weak and flat; jammed right against your face and it blows out one side of your skin. If the light feels harsh at a good distance, soften it rather than moving it far away.
Angle: a little to one side
Directly head-on light can look flat, like a passport photo. Moving the light 30 to 45 degrees to one side adds gentle depth and makes your face look natural and three-dimensional. This small angle also helps glasses wearers, because the reflection bounces off to the side instead of straight back into the camera.

How to Soften Ordinary Lamps
Most homes already own a lamp that can do this job. The trick is softening it. A bare bulb aimed at your face is harsh: it creates shiny spots on skin, deep shadows, and painful glare if you glance at it. Three easy fixes:
- Use a shade. A fabric or frosted shade spreads the light and cuts the glare. Point the shade toward your face so the softened light does the work.
- Bounce it. Turn the lamp to face a pale wall or the corner beside you, and let the reflected light wash over your face. Bounced light is the softest of all and costs nothing.
- Diffuse it. A purpose-made diffuser panel works well; in a pinch, a layer of plain white baking paper held safely away from a cool LED bulb can take the edge off, but never drape anything over a hot bulb or a heat-producing lamp.
If the room itself is gloomy, your face light has to fight harder and calls still look dull around the edges. Fixing the base brightness of the room first, as described in our guide to a home office that feels dark even with the lights on, makes call lighting much easier.
Working With a Window Instead of Against It
Daylight is the best call light you own, if you position yourself correctly. Sit facing the window, or with the window to your front side, and the light falls on your face evenly and naturally. The camera sits between you and the window, so keep curtains or a sheer panel ready for very bright days when the light becomes too strong.
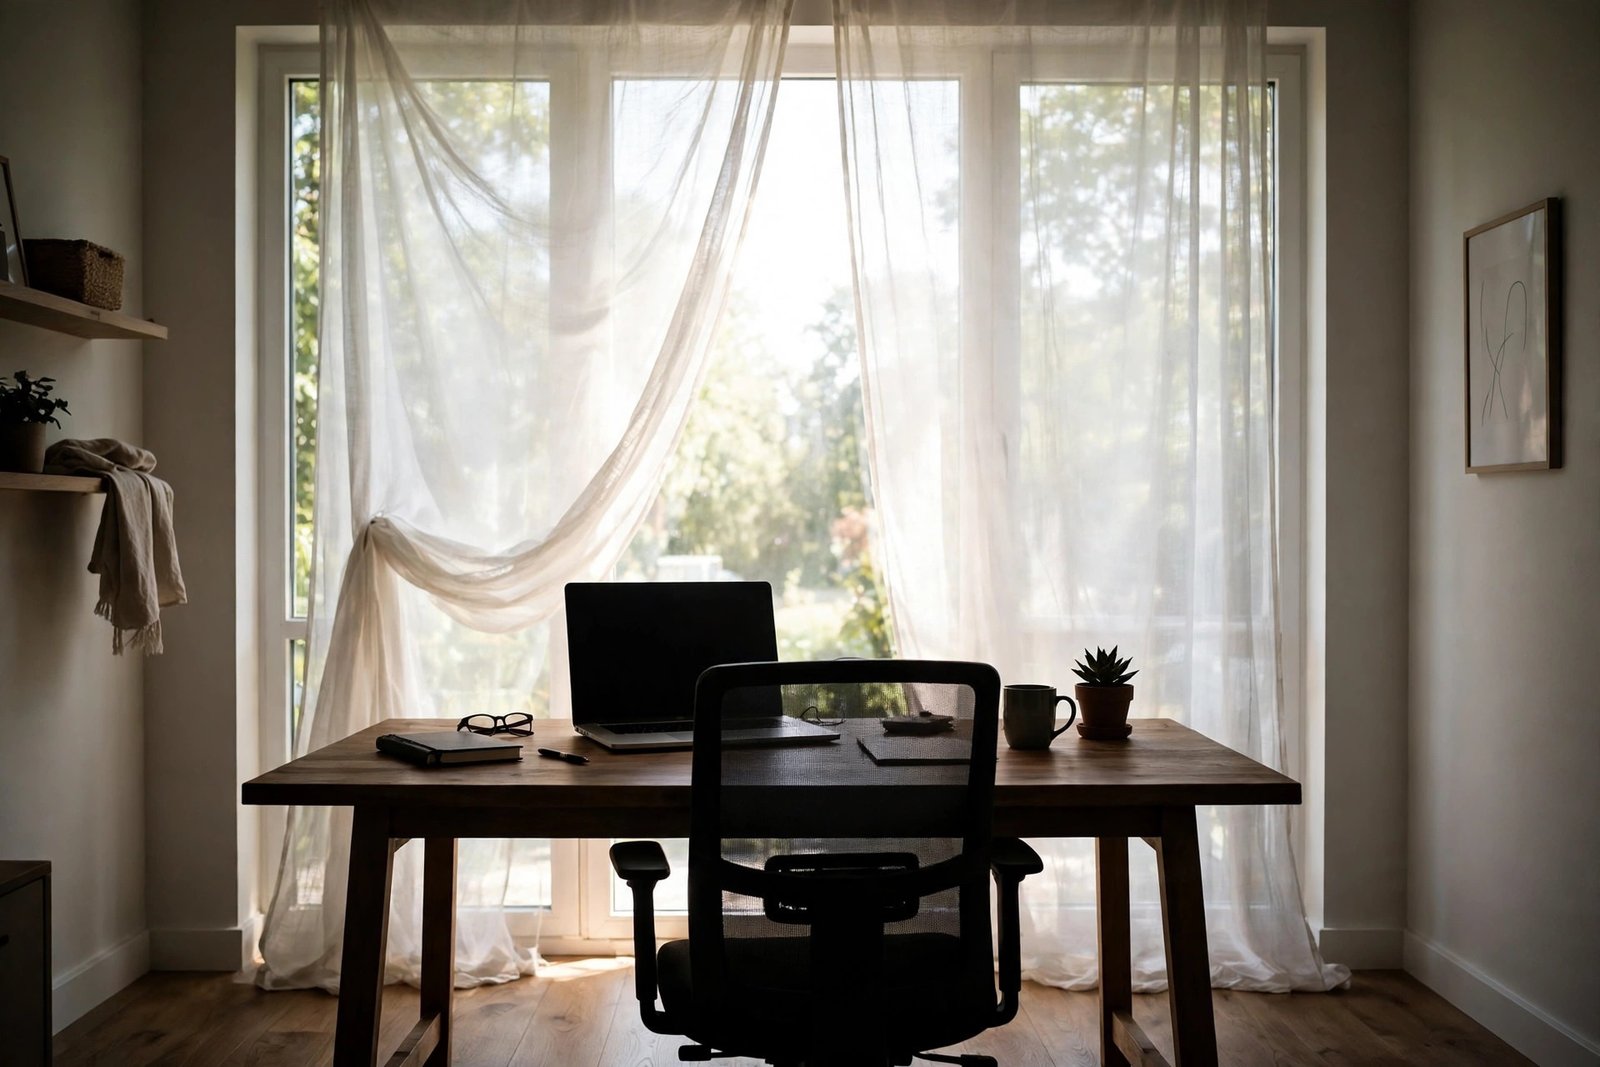
The classic mistake is sitting with the window behind you. The camera then exposes for the bright window, and you become a dark silhouette with no visible features. If your desk cannot move, close the blind or curtain behind you during calls, and use a lamp in front of your face instead.
Side windows need a smaller adjustment. If one side of your face is bright and the other is in shadow, either turn your chair slightly toward the light or add a soft lamp on the darker side to fill in the shadow.
Video Calls in a Shared or Bedroom Office
Not every desk gets its own room. If your office shares space with a bedroom, your call light also has to respect the rest of the room. A small, shaded lamp aimed at your face lights you without flooding the whole bedroom, and it can be switched off the moment work ends so the room returns to a restful space. The zoning ideas in our guide to a home office in a bedroom show how to keep that work corner separate in look and feel.
In shared living spaces, agree on a simple signal for calls, keep the light modest, and angle it so it does not shine into anyone else’s eyes across the room.
Glare on Glasses and Shiny Skin: Small Fixes
If you wear glasses, glare usually comes from the light being too high, too direct, or level with the lens. Lower the light slightly, move it further to the side, and tilt your glasses a fraction down if that is comfortable. Raising the camera a little above eye level also changes the reflection angle in your favour.
For shiny skin on camera, the cause is usually a hard, bare light source. Soften the light first. If shine remains, a light touch of ordinary face powder before a long call is a simple, honest fix that many presenters use.
The Two-Minute Test Before an Important Call
- Open your camera app or a test meeting and look at yourself as others will.
- Check for three things: both eyes clearly lit, no bright window or lamp visible behind you, no white glare patches on glasses or forehead.
- Move the lamp a few centimetres at a time — small moves change the picture a lot.
- Sit back in your normal working position and check again; light that works when you lean in often fails when you relax.
Mistakes to Avoid
- Sitting with your back to a window. You become a silhouette, no matter how good your camera is.
- Relying on the ceiling light alone. Downward light carves shadows under your eyes and brow and ages your face on screen.
- Pointing a bare bulb at your face. The glare hurts your eyes and creates hard shiny patches on your skin.
- Placing the light below chin level. Uplighting looks unnatural and makes normal features seem distorted.
- Testing during the real call. Two minutes of checking beforehand saves a meeting of distractions.
Frequently Asked Questions
Do I need a ring light for good video calls?
No. A ring light is one convenient tool, but an ordinary shaded desk lamp in the right position gives an equally clear and often more natural result. Position and softness matter far more than the shape of the light.
What if my desk cannot face the window?
Use the window from the side and add a soft lamp on the opposite side to fill the shadow, or close the window covering during calls and light your face entirely with a lamp in front of you. Both approaches look far better than a bright window behind your head.
Why do I look orange or grey on camera?
Mixed light is the usual cause: warm lamp light on one side and cool daylight on the other confuses the camera. Try to make your main face light the strongest source, match bulb tones where you can, and let the camera settle for a few seconds before you judge the colour.
How bright should my call light be?
Bright enough that your face is clearly the best-lit thing in the frame, but soft enough that you can look toward it comfortably without squinting. If you are squinting, the light is too bare or too close — soften it or bounce it off a wall rather than just turning it down.
Conclusion
Good video call lighting is a position, not a purchase. Put soft light in front of your face, slightly above your eyes and a little to one side; keep bright windows behind the camera instead of behind you; and run a two-minute test before calls that matter. With those habits, you will look like yourself on screen — clear, natural, and easy to talk to.

2 thoughts on “Best Lighting Position for Video Calls Without Glare”